For the complete documentation index, see llms.txt. This page is also available as Markdown.

Plugin Quick Start

Get the AI Manager running on your first device in five steps.

This page guides you through the complete setup from zero to your first AI detection. Each step links to the detailed documentation; come back here if you lose your place.

Key terms

The following terms appear throughout these docs:

  • AI Manager: The full package: Plugin, Runtime, and Cloud together.

  • AI Manager Plugin: The plugin that runs on an edge device inside Nx Meta (or any Powered-By-Nx product). It lets you configure the AI pipeline for each device.

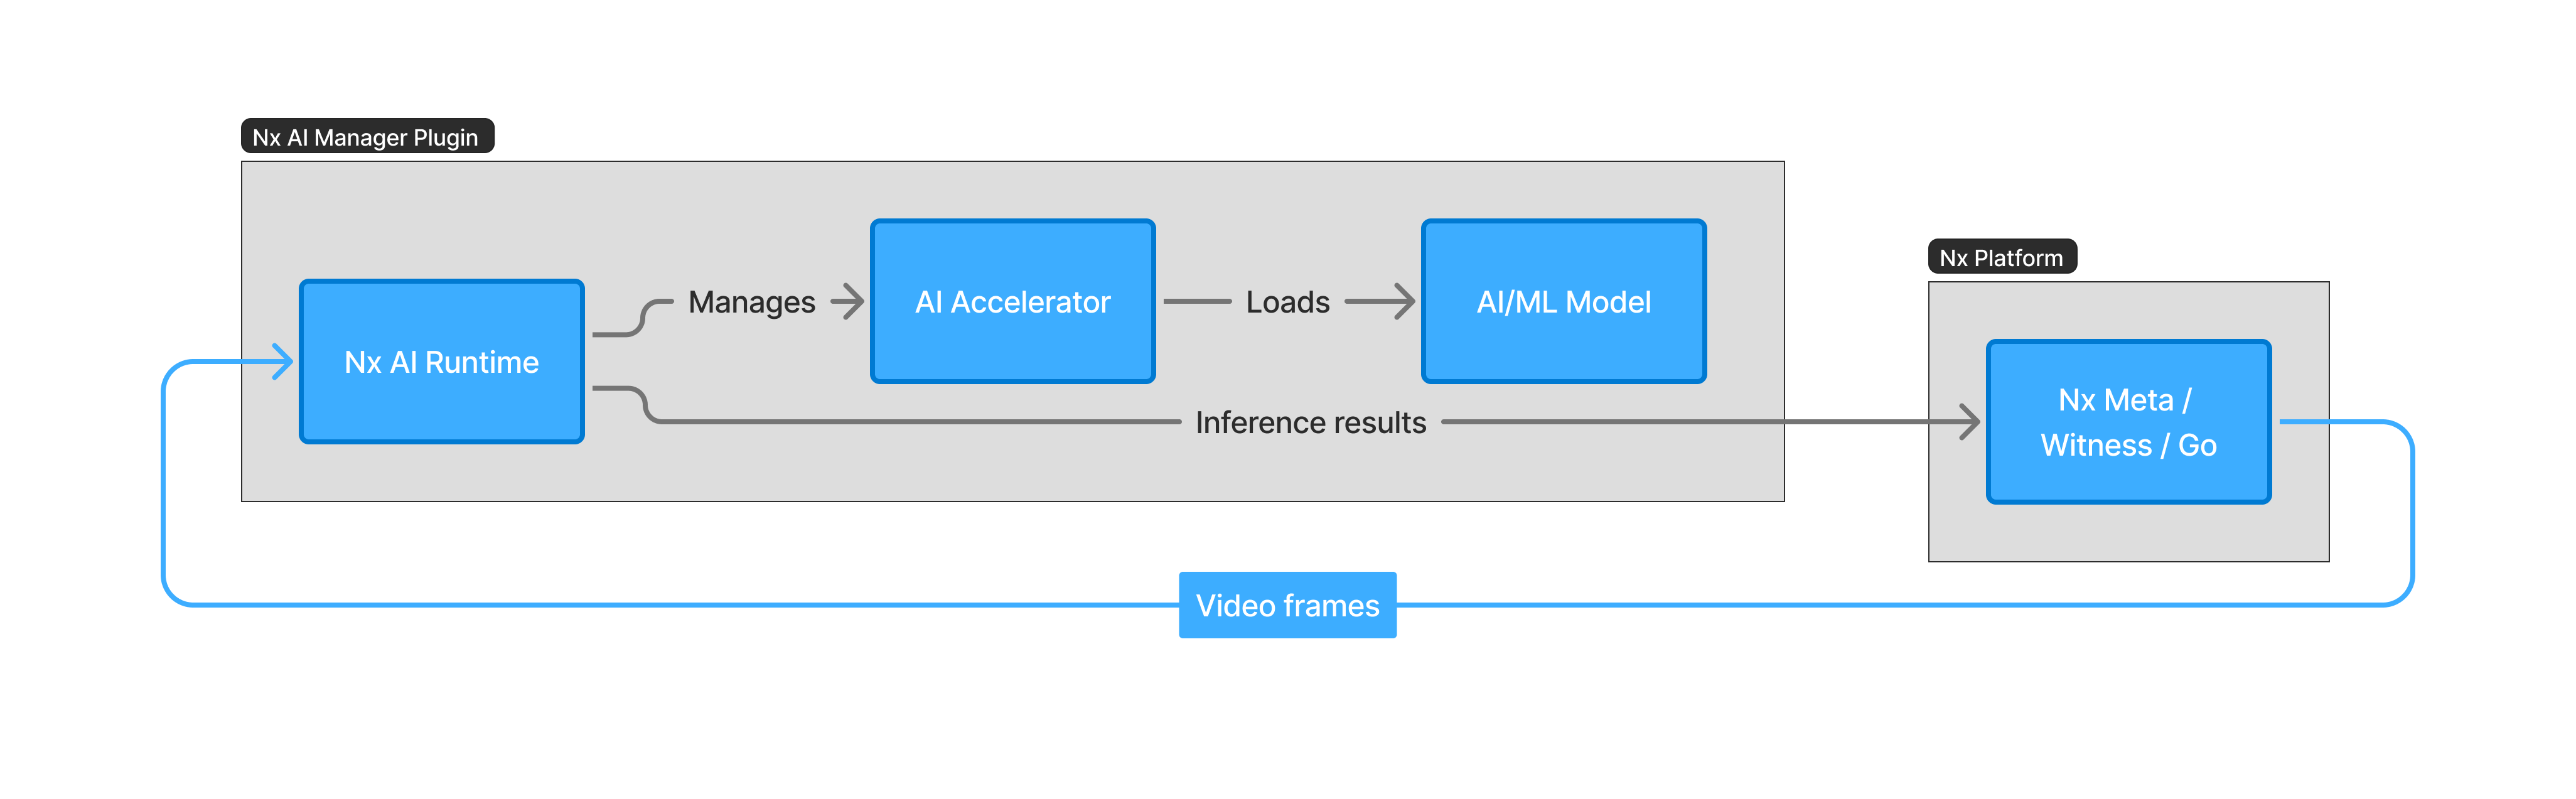
  • AI Runtime: The library component that runs AI models on AI accelerators. The Plugin controls the Runtime; the Runtime manages the accelerator and the downloaded model files.

  • AI Cloud: The web platform for managing devices and models and building your personal model catalogue.

  • EVOS: Network Optix's Enterprise Video Operating System. Nx Meta, Nx Witness, and Nx Go are all EVOS products.

  • Nx Meta: The EVOS product most commonly used with the AI Manager. It consists of one or more server installations and a client. Nx Witness and Nx Go work the same way.

  • AI/ML model: Any definition that transforms input (a stream of images) into output such as bounding boxes, a license plate string, or an OK/NG classification.

  • Edge device: Any device (camera, gateway, IPC, etc.) running the AI Manager.

AI Manager Plugin component diagram showing AI Runtime managing the AI
     Accelerator and AI/ML Model
The AI Manager Plugin: the Runtime manages the AI Accelerator and the AI/ML Model running inside the Nx platform.
Step 1: Check system requirements

Before installing anything, confirm your hardware and OS are supported.

System requirements

Step 2: Install Network Optix

Install the Nx Meta, Nx Witness, or Nx Go server and client on your machine.

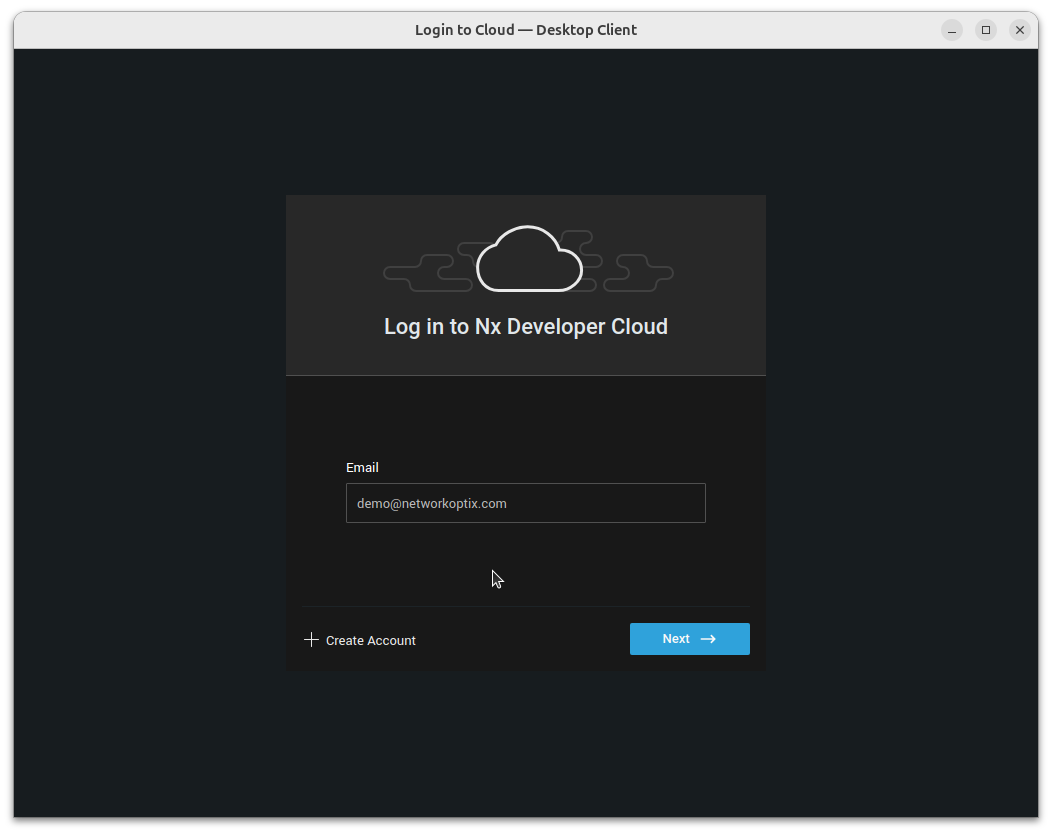
Log in to Nx Developer Cloud dialog showing email input field in the Desktop
     Client
The Nx Meta desktop client: log in after installing to confirm the server is running.
Install Network Optix

Step 3: Enable the AI Manager plugin

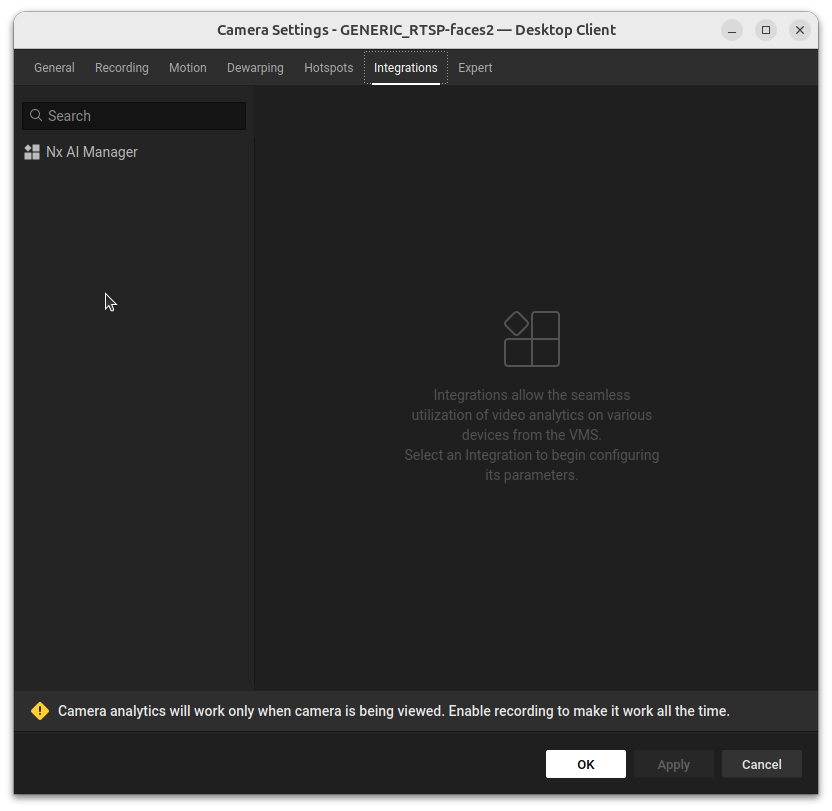
Open the Nx Client, right-click a camera, go to Camera Settings → Integrations, and enable the AI Manager toggle.

Camera Settings dialog with the Integrations tab selected, showing AI
     Manager listed in the plugin list
Camera Settings Integrations tab: the AI Manager plugin appears here once installed.
Starting the plugin

Step 4: Configure a model pipeline

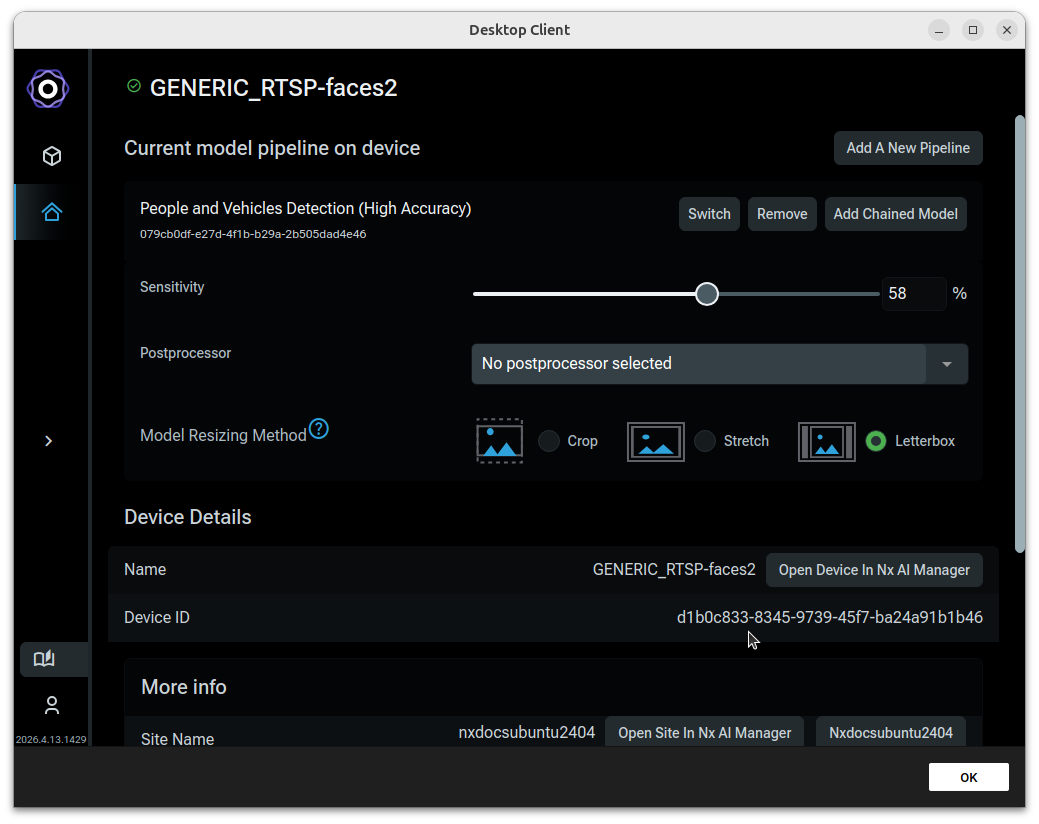
Open the AI Manager panel for the camera and add a model to the pipeline.

AI Manager pipeline panel showing People Detector model configured with
     sensitivity and postprocessor controls
The pipeline panel with a model assigned: adjust sensitivity and postprocessor settings here.
Configure the plugin

Step 5: Confirm it works

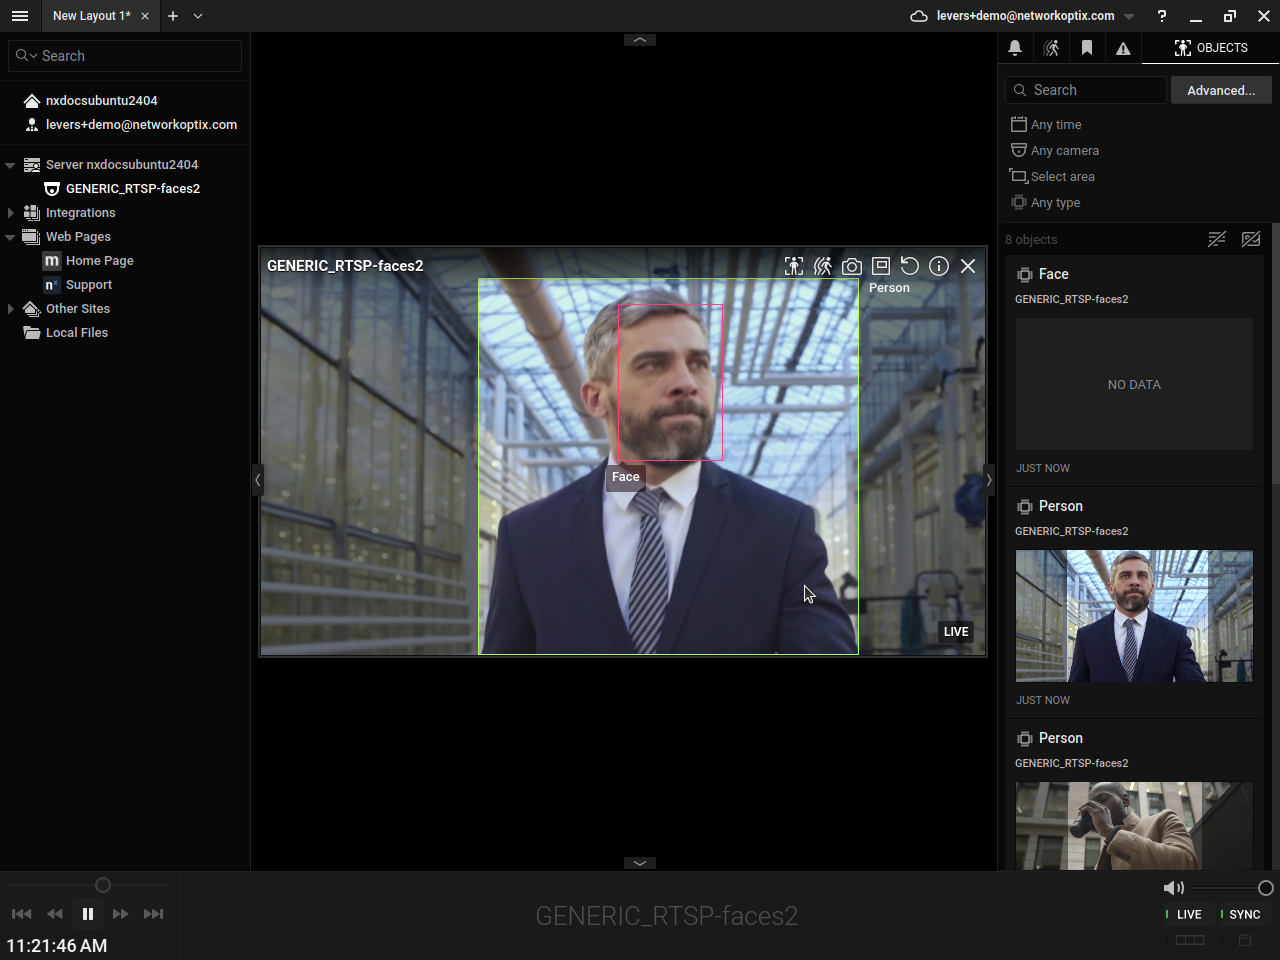
Switch to the Objects tab in the Nx Client. You should see bounding boxes or other model output on the camera feed within a few seconds.

Nx Client interface with the Objects tab selected in the left panel
The Objects tab shows AI detections from the running model pipeline.
Confirming it works

If nothing appears, go to Troubleshooting.