For the complete documentation index, see llms.txt. This page is also available as Markdown.

Cloud Quick Start

End-to-end walkthrough from logging into AI Manager Cloud to running a model on a device.

This guide walks you through the end-to-end workflow: from logging into the AI Manager Cloud admin interface to having an AI model running on your edge device. Each step links to the relevant detailed documentation.

Before you begin: install the AI Manager plugin on the server and connect at least one camera device.

Step 1: Log into the AI Manager Cloud

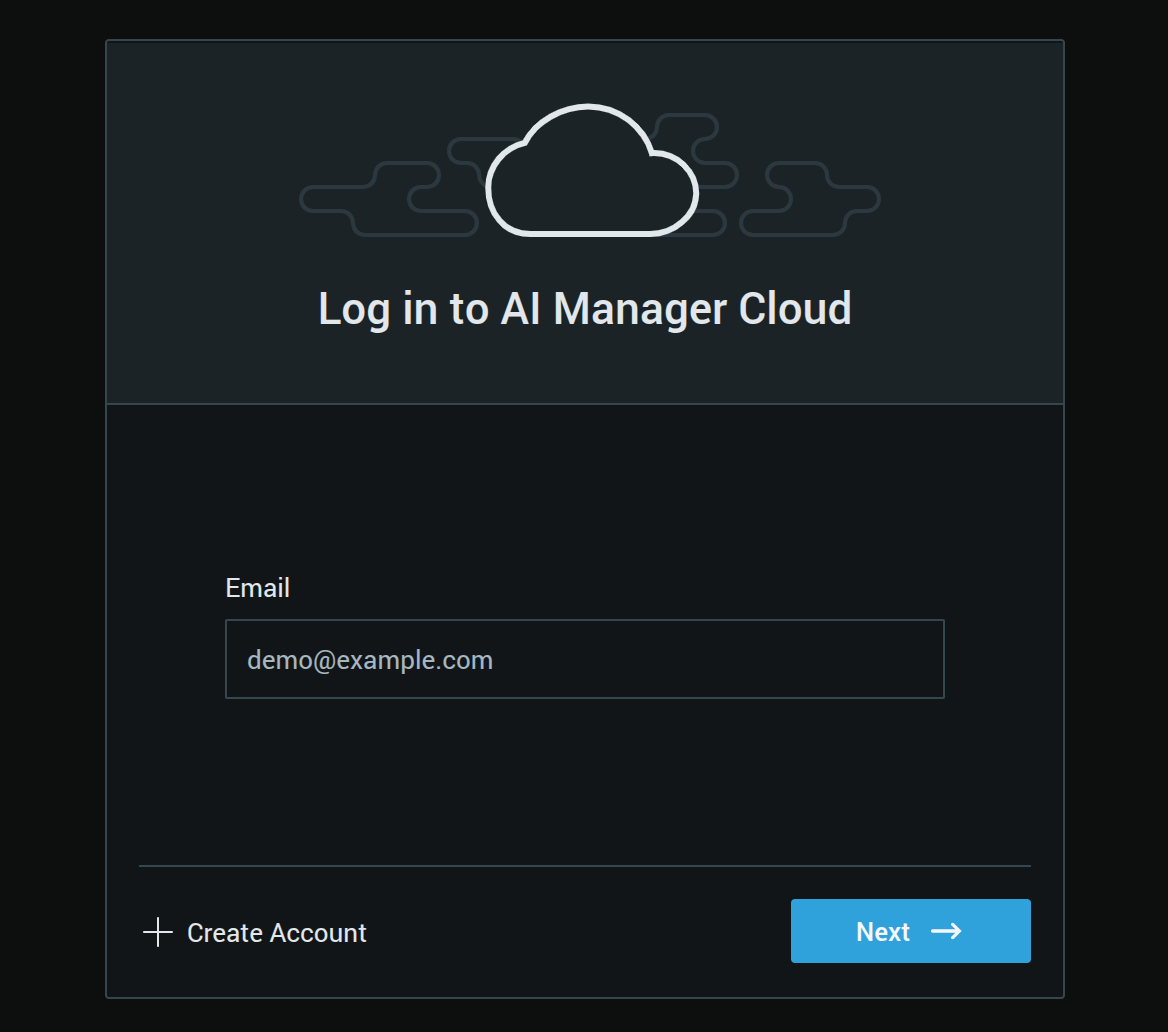
Open the AI Manager Cloud admin interface in your browser. Enter the email address for your Nx account and click Next.

Log in to AI Manager Cloud dialog with an email input field and a Next button
Enter your Nx account email address; appearance varies by product variant
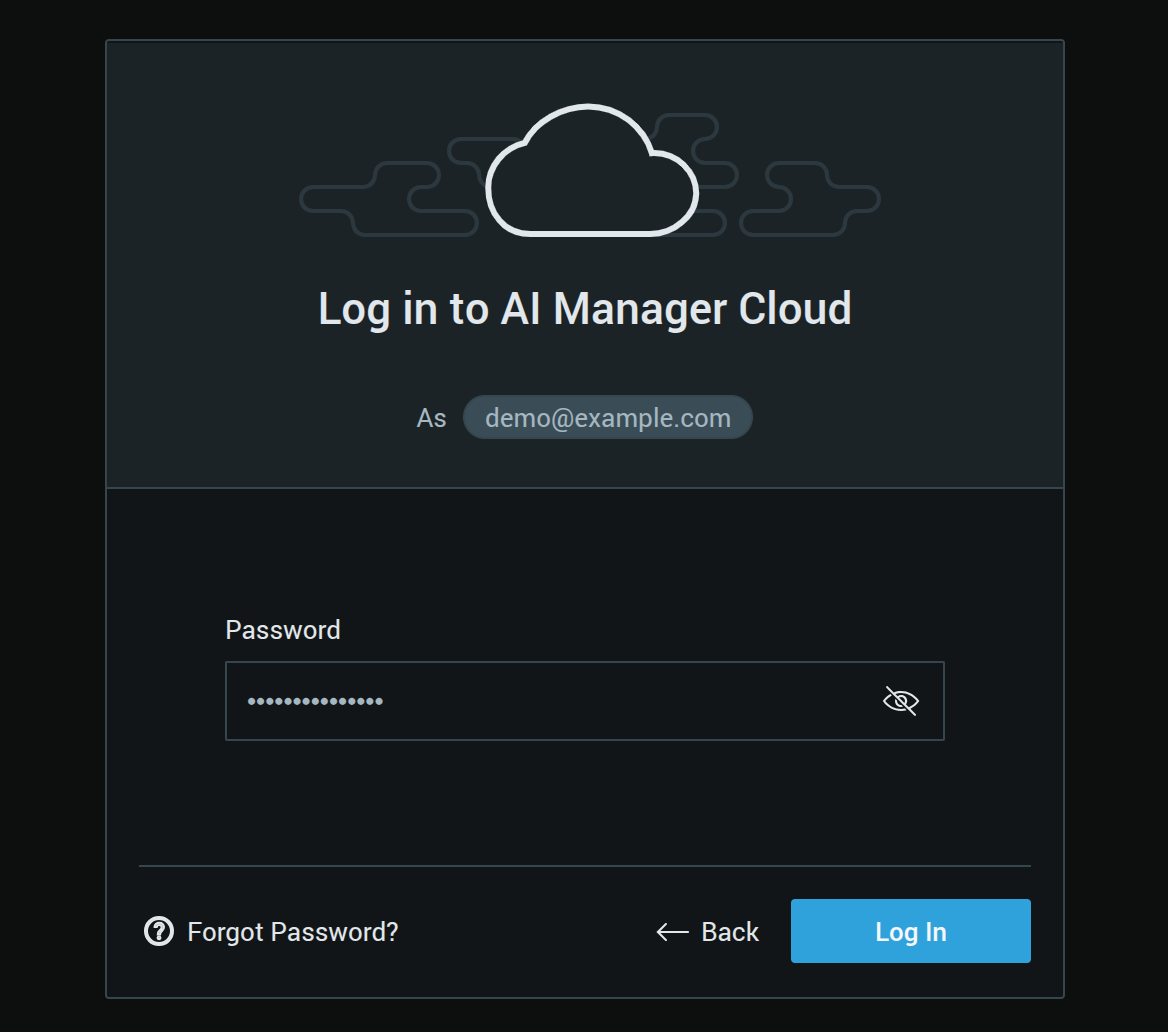
Enter your password and click Log In.

Log in to AI Manager Cloud dialog showing a password field for the entered email address
Enter your password to continue

If you see an Unknown redirect URL warning, the AI Manager Cloud instance you're logging into is not yet a trusted redirect target. This is expected on regression, staging, or other non-production deployments. Confirm the URL shown matches the AI Manager Cloud instance you intended to open, then click Accept the risks and continue.

Log in to AI Manager Cloud dialog showing an Unknown redirect URL warning with an Accept the risks and continue link
Accept the redirect to finish logging in, if this warning appears
Step 2: View Your Connected Sites

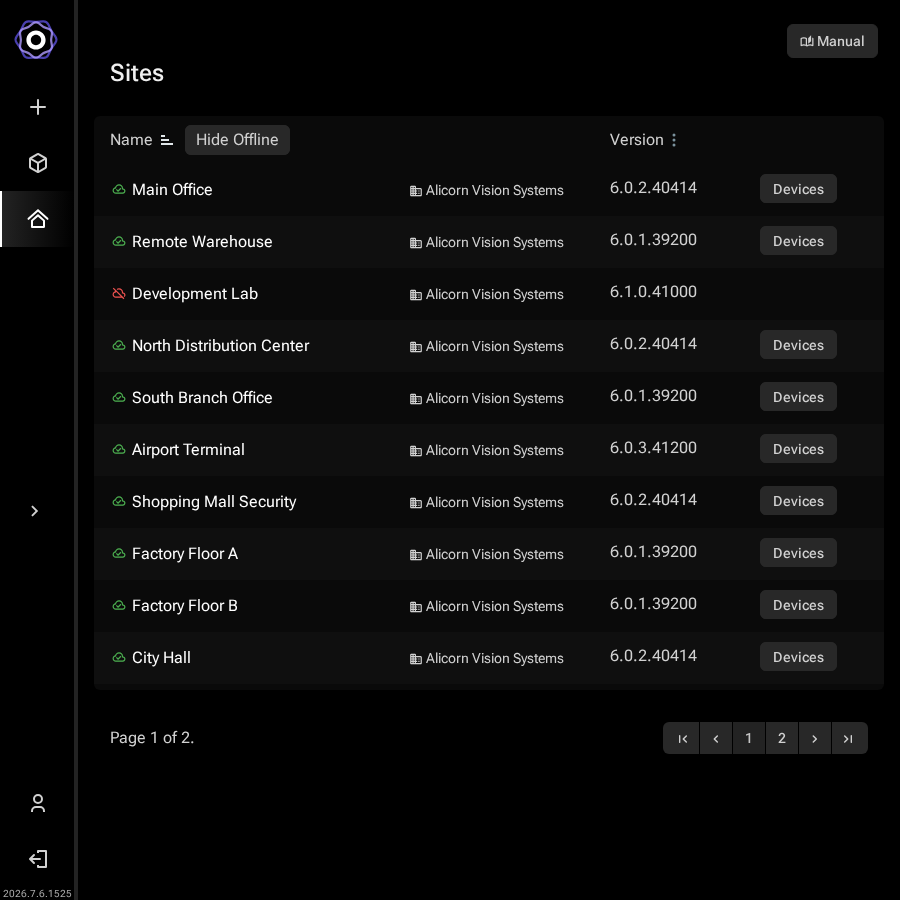
After logging in, the Sites page lists all sites registered to your account, with their online/offline status.

AI Manager Cloud sites listing page showing multiple sites with green online and red offline status indicators
Sites listing: a green icon means a site is online and ready to manage; a red icon means it is offline.
Click an online site (green indicator) to open it.

Deployment and device management

Step 3: Find Your Device

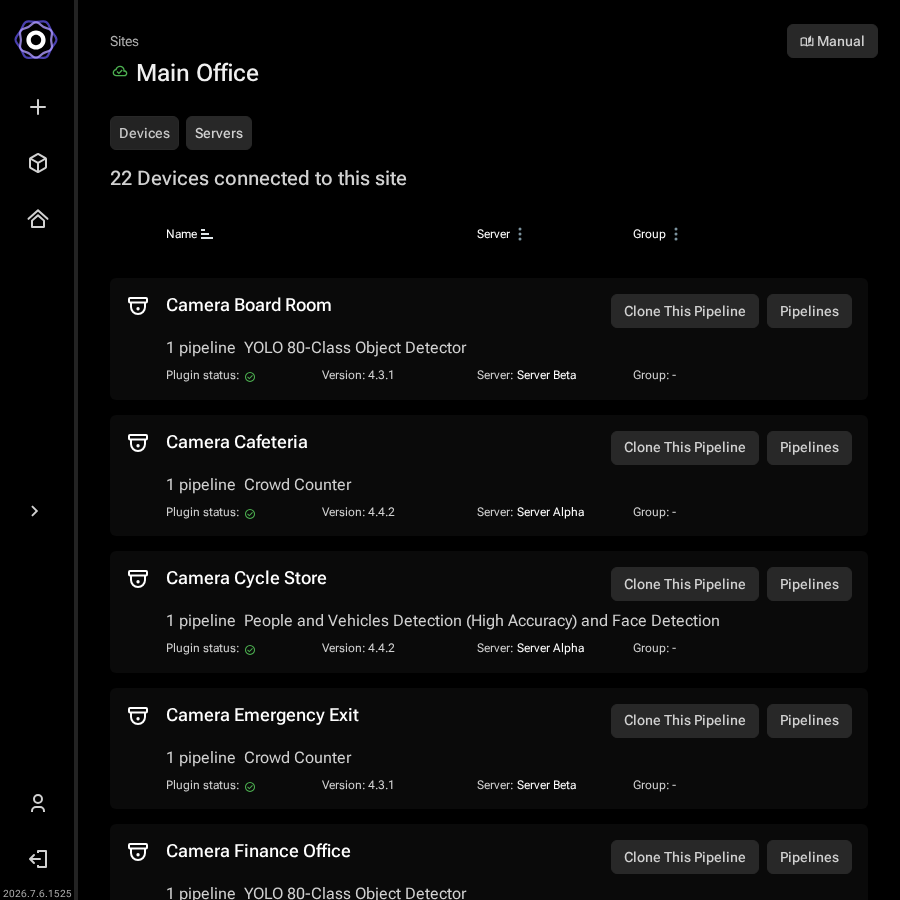
Inside a site, the Devices tab lists all cameras and devices. Each device shows its currently assigned model pipeline.

A site's device list showing cameras with their assigned model pipelines and Clone This Pipeline buttons
Site devices: each device shows its current pipeline. Click Pipelines to open the device detail page.
Click a device to open its detail page.

Step 4: Assign a Model Pipeline to Your Device

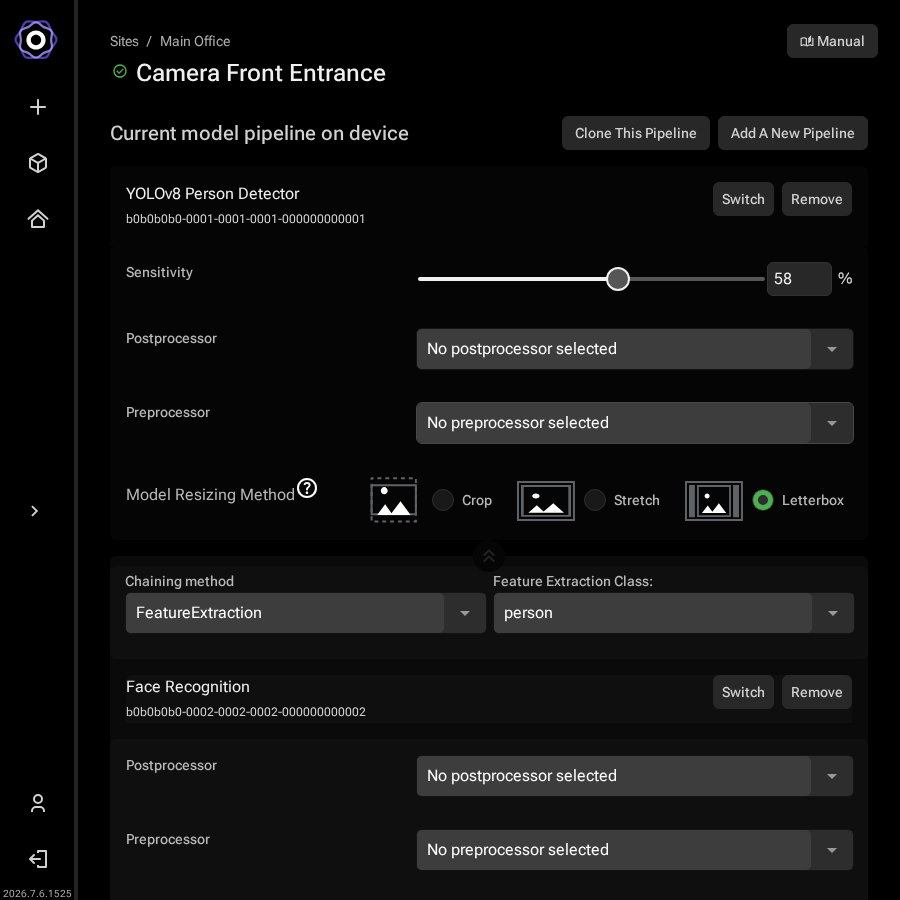
On the device detail page, click Pipelines to manage the model pipelines running on that device. Use Add a new pipeline to assign a model, or the replace button to swap the existing one.

Device detail page showing the current model pipeline with Add A New Pipeline, Switch, Remove, and Add Chained Model buttons, plus sensitivity and postprocessor controls
Device pipeline: use Add A New Pipeline or Switch to assign or replace a model.
The model is downloaded to the device automatically after assignment.

Step 5: Browse Available Models

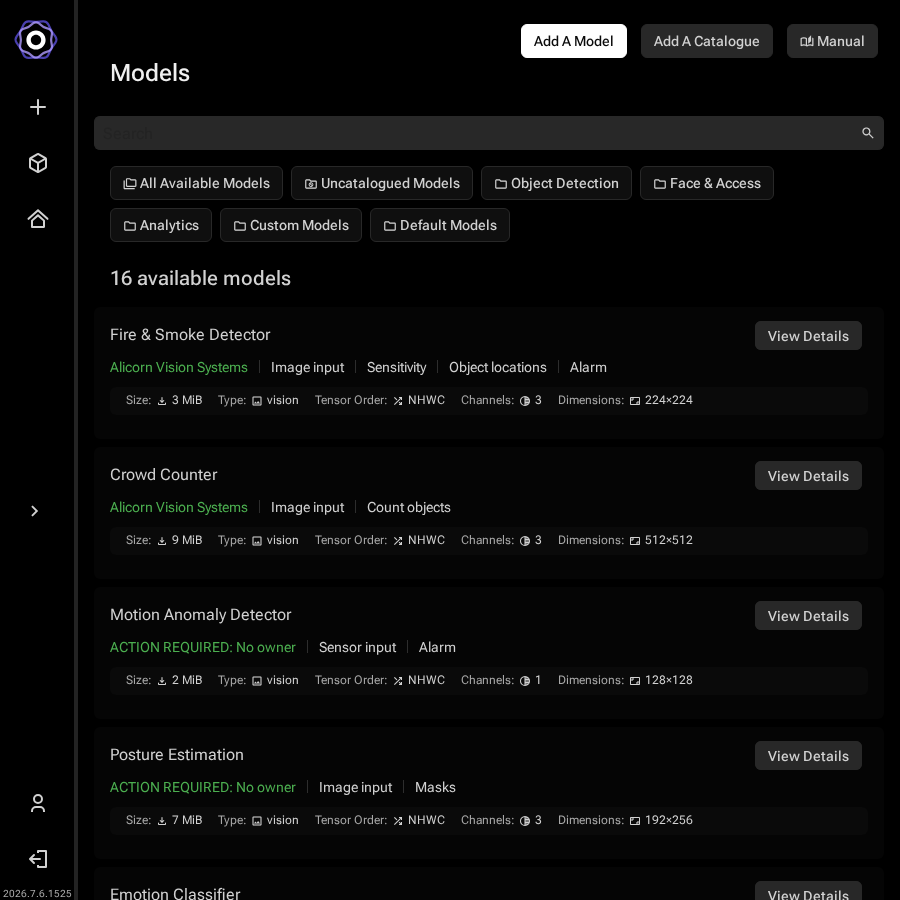
From the sidebar, the Models page shows all AI models available to your account: pre-built models from the catalogue and any custom models you have uploaded.

The model catalogue listing page showing available AI models with their descriptions and runtime compatibility
Model catalogue: browse and search available models
Use your model

Step 6: Verify Deployment

After assigning, the device detail page confirms the deployment status. The device begins running inference within a few seconds.

The model detail page showing model information and the list of devices it is currently deployed to
Model detail: confirm the model is deployed to the correct devices

What's Next?

Last updated