Upload your model
Step-by-step guide to uploading a model file through the Add a model wizard.
Step 1: Upload a Model File


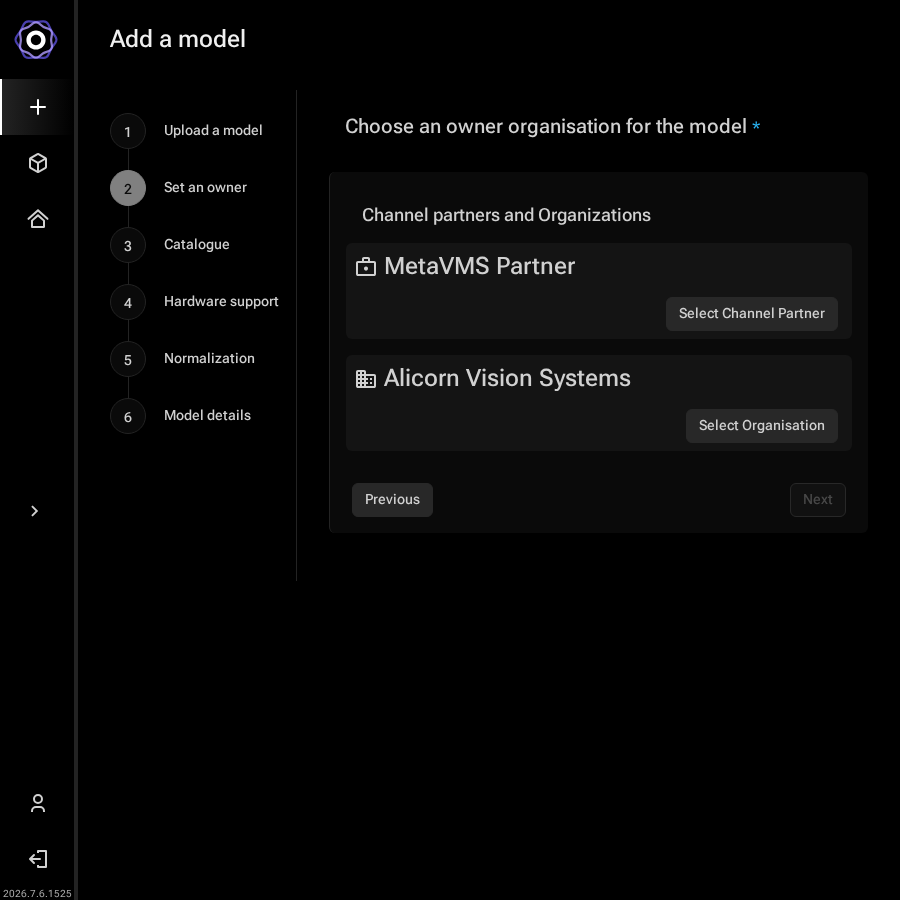
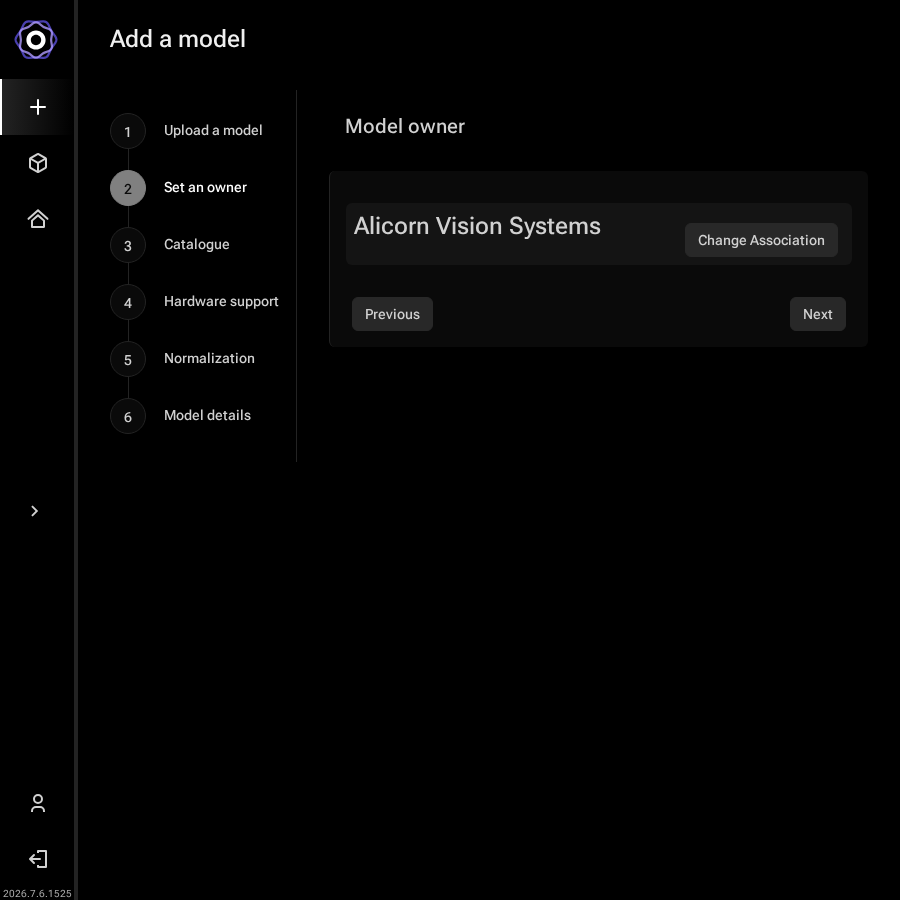
Step 2: Set an Owner


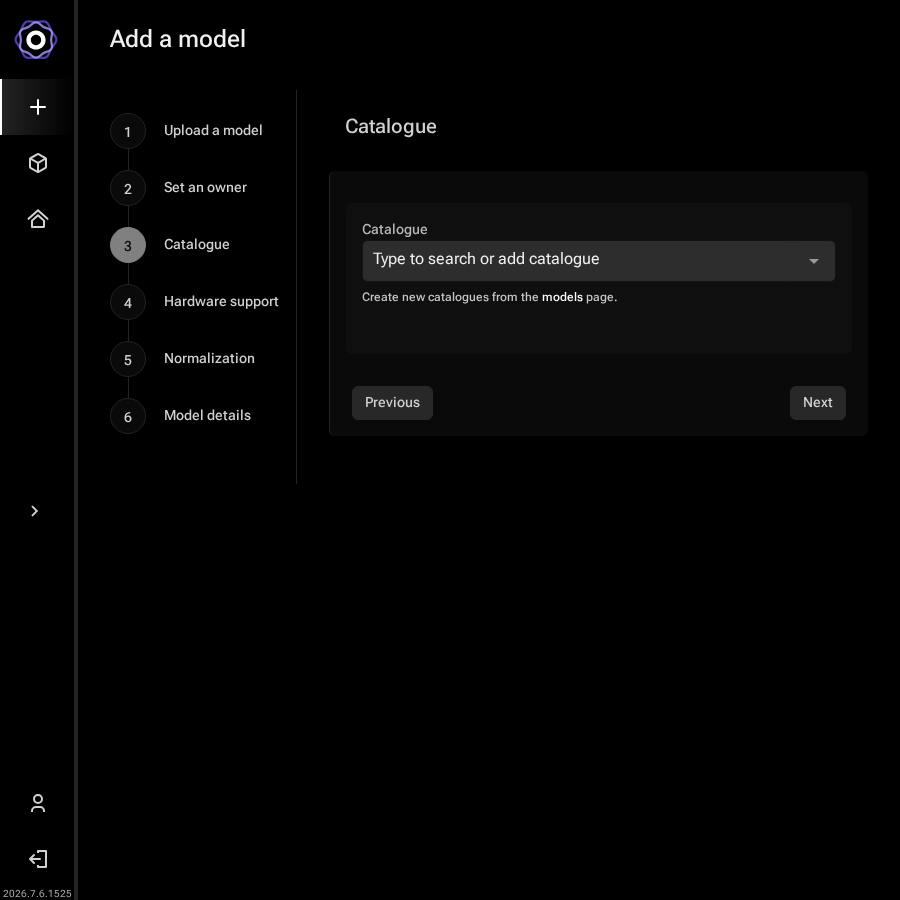
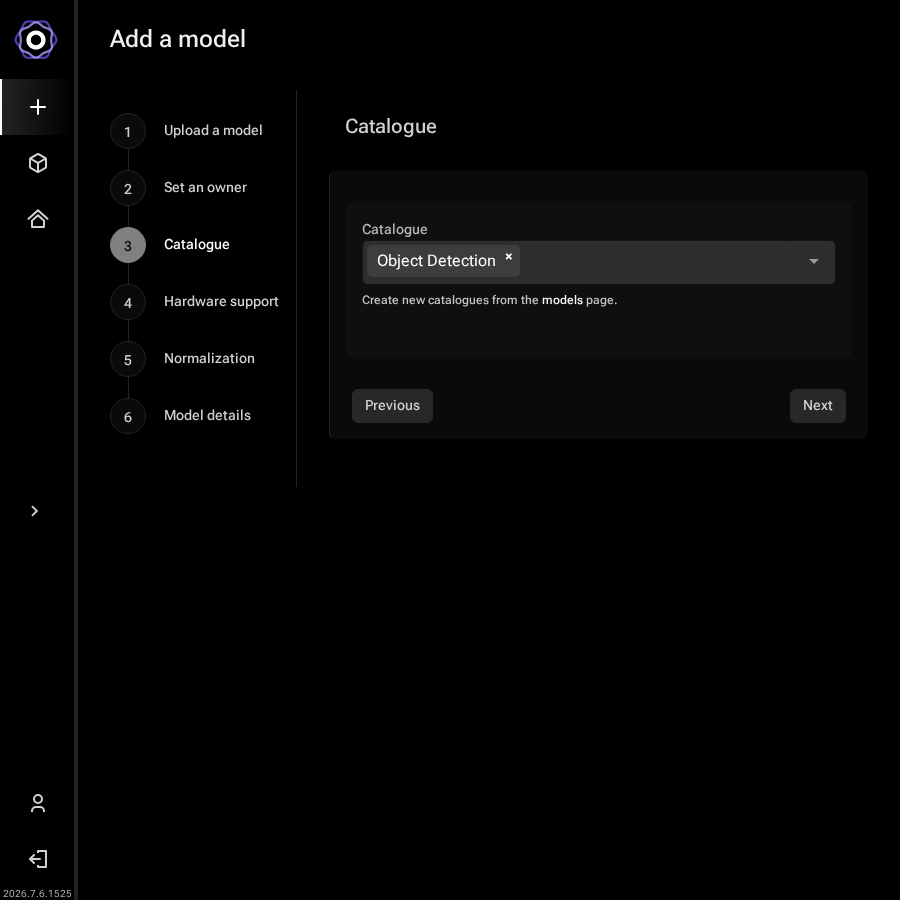
Step 3: Catalogue


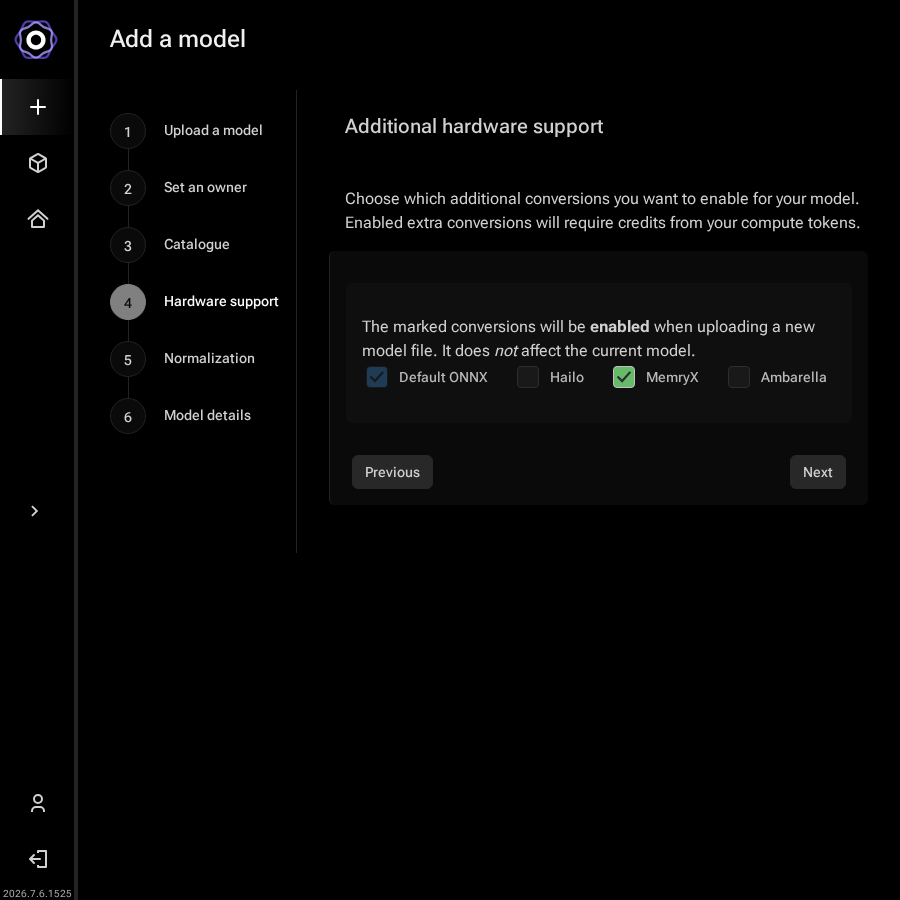
Step 4: Hardware Support

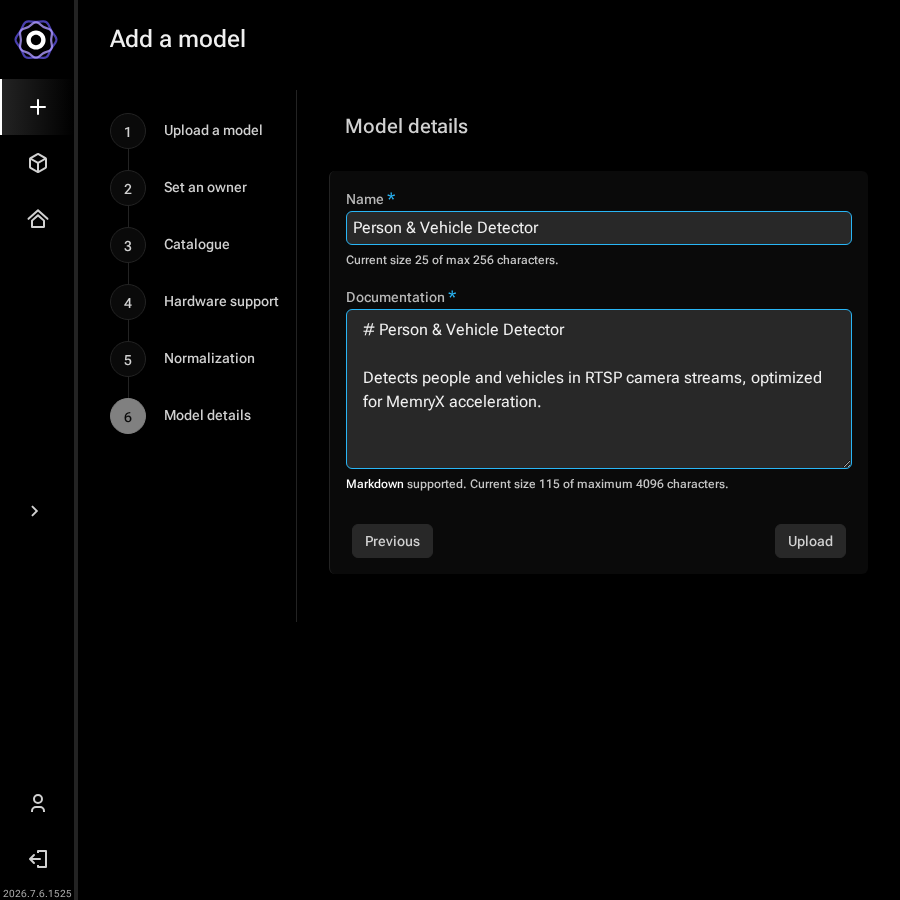
Step 5: Model Details

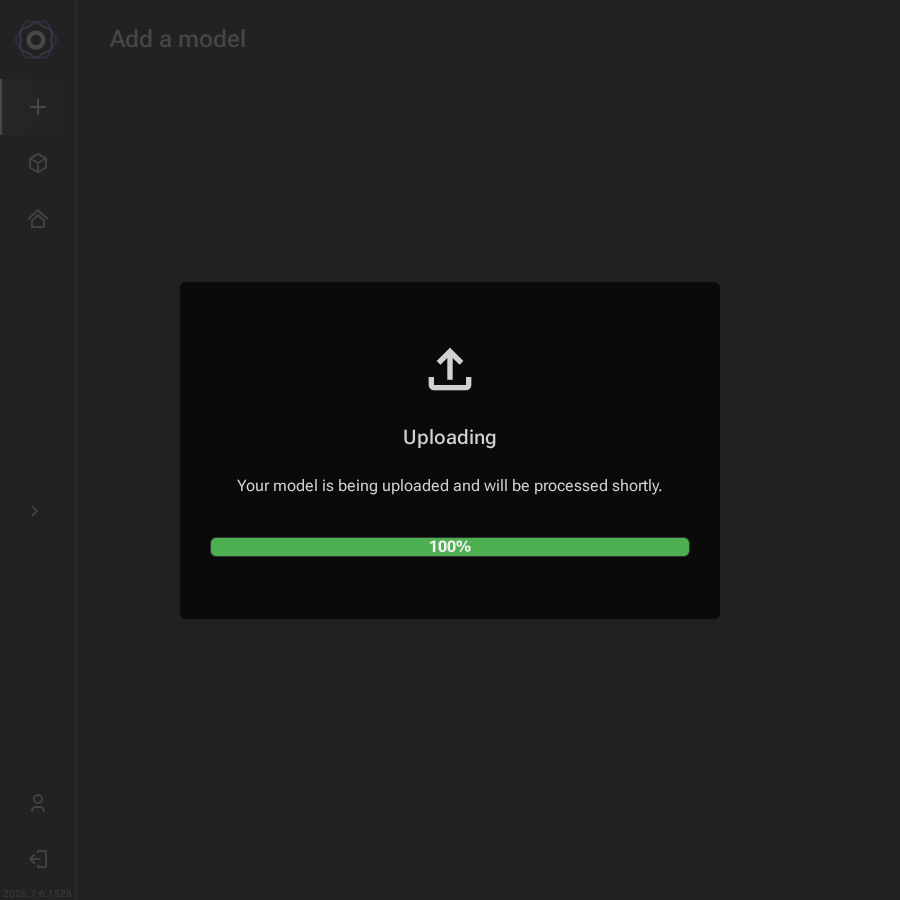
Uploading and Processing


Last updated
Step-by-step guide to uploading a model file through the Add a model wizard.
After creating your model, upload it to AI Manager Cloud to make it available on all your Nx Servers. Click the + icon in the sidebar to open the Add a model wizard.
The wizard walks you through five steps.
Drag and drop your model file into the upload area, or click the area to select a file from your file system. Supported formats include ONNX, TFLite, and ZIP (Teachable Machine, NetsPresso).

Once a file is selected, the filename appears in the upload area. Click Next to continue.

If your account belongs to multiple organizations or channel partners, choose which one will own the model. If your account has only one organization, it is pre-selected; click Next to continue.


Optionally assign the model to a catalogue so it is grouped with related models and visible to specific sites or organizations. Type to search for an existing catalogue, or leave the field empty to skip.


Click Next to continue.
Choose which additional hardware conversions to enable. Each enabled conversion generates an optimized model artifact for a specific AI accelerator and consumes compute tokens from your account.

If your model needs to run on Hailo or other specialized accelerators, enable those conversions here. Click Next to continue.
Give your model a name and add documentation describing what it does, its input requirements, and any relevant notes. Both fields are required. The name is pre-filled from the filename; edit it to something descriptive.

Click Upload to start the transfer.
A progress bar shows the upload status. After the file is transferred, the cloud platform converts it for each selected hardware target. This can take several minutes depending on the model size and the number of enabled conversions.

When the upload completes you are taken to the model detail page. A notification confirms the upload and indicates that an email is sent when conversion finishes.

Once conversion is complete and the model status shows ok, the model is ready to be used on your devices.
If your model uses normalization values that differ from the defaults, set them from the model detail page before deploying.
Last updated