> For the complete documentation index, see [llms.txt](https://nx.docs.scailable.net/llms.txt). Markdown versions of documentation pages are available by appending `.md` to page URLs; this page is available as [Markdown](https://nx.docs.scailable.net/ai-manager-v6.1.4/ai-manager-plugin/configure-the-plugin.md).

# Configure the plugin

This page gives instructions on how to configure basic operations of the AI Manager Plugin

## Configure the Mediaserver

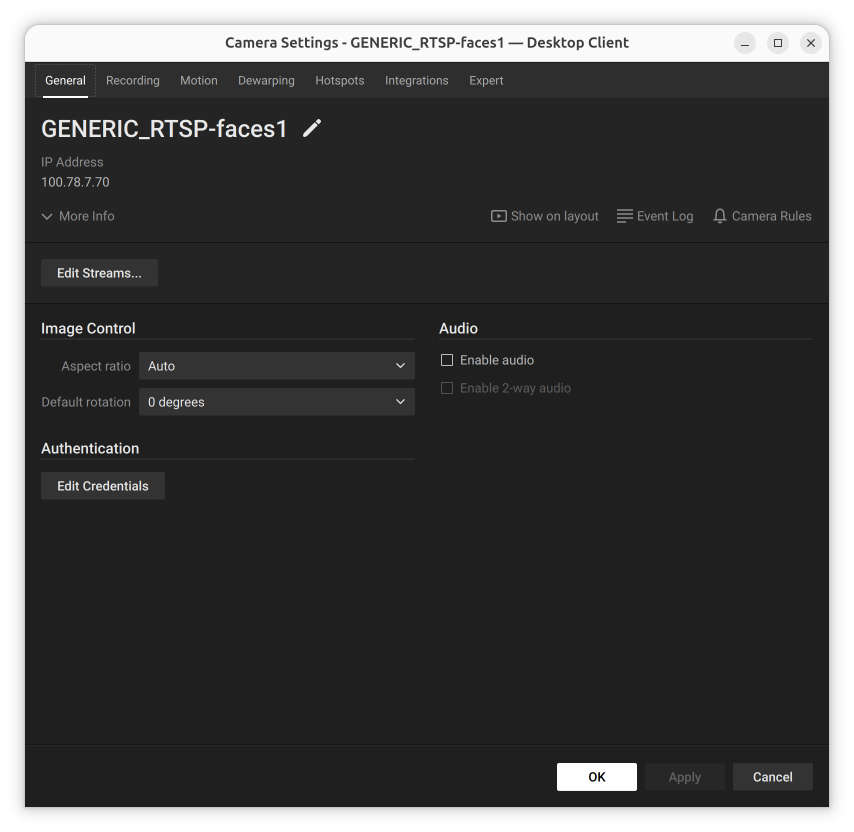
After the Mediaserver and desktop client are installed, the **Integrations** tab is visible in a camera's settings:

<figure><img src="/files/dqedkCSteuKOAIgT6Dx7" alt="Camera Settings Integrations tab showing the AI Manager toggle in the off position"><figcaption><p>AI Manager Integration tab: plugin disabled</p></figcaption></figure>

The plugin can be enabled/disabled per device on the Integrations tab.

Once the plugin is enabled and started (toggle on, then click **Apply**), the settings panel shows the active AI pipeline and model controls directly in the Integrations tab:

<figure><img src="/files/Q2RnLAHDuH2zzNXQcBXx" alt="Camera Settings Integrations tab showing the AI Manager toggle in the on position and a default pipeline"><figcaption><p>AI Manager Integration tab: plugin enabled with default pipeline</p></figcaption></figure>

To change a model, use the **AI Pipelines** dropdown to select from the models available on the server.

<figure><img src="/files/vten2OJm6lpOjHaCcRnO" alt="Camera Settings Integrations tab with plugin active, showing AI Pipeline dropdown, Device Active toggle, and Device Overview with active pipeline summary"><figcaption><p>Plugin active: AI pipeline and model settings</p></figcaption></figure>

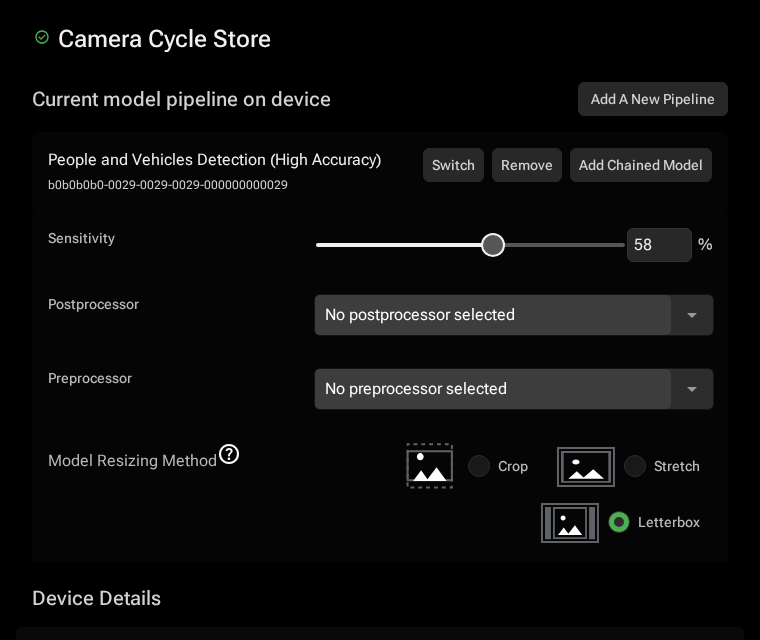
When using a custom pipeline managed via the AI Manager Cloud, a **Manage Device** button is shown instead. Clicking it opens the AI Manager device panel to manage the model pipeline.

<figure><img src="/files/JT7W9mEdwy9nsL4sAtoP" alt="Plugin settings showing AI Pipeline set to Custom with Manage Device and Reselect Runtime buttons, and Device Overview showing the active pipeline summary"><figcaption><p>Manage Device button: available when using a custom cloud pipeline</p></figcaption></figure>

<figure><img src="/files/Hu76aZ5dvO0eb6VNAeR9" alt="AI Manager device panel opened from the Manage Device button, showing the current model pipeline on device with pipeline settings"><figcaption><p>Device model pipeline management: opened via the Manage Device button</p></figcaption></figure>

For specific settings see [the model settings](/ai-manager-v6.1.4/ai-manager-plugin/configure-the-plugin/model-settings.md).

## Visualizing Bounding Boxes

If a model that outputs compatible bounding boxes is selected and running, view bounding boxes on the *Objects* tab in the right pane of the desktop client:

<figure><img src="/files/kVspz7hKhZgu0mwuEyuP" alt="Camera feed in the desktop client showing a detected person with face bounding boxes from the AI model"><figcaption><p>Visible bounding boxes in the desktop client</p></figcaption></figure>

{% hint style="warning" %}
**The objects tab is missing**

The Objects tab might not be available after a fresh install of the Mediaserver.

Restart the desktop client to make the Objects tab appear.
{% endhint %}

<figure><img src="/files/44yHQaiuk33tV614D0TE" alt="Objects tab selected after restarting the desktop client"><figcaption></figcaption></figure>

## Adding Event Rules

The AI Manager plugin can generate several different types of events. Nx Meta gives control over what these events do, from sending an email to showing a notification. This example shows a text overlay on the video.

Rules can be added by navigating to the Camera Rules menu:

On the Event Rules window, click the **Add** button to add a new rule.

From here, several options are available. First, on the left side, select **Analytics Event** from the **When** context menu. This is the type of event the AI Manager plugin generates.

Select any, or multiple, camera(s) in the **At** context menu.

The **Event Type** context menu lists the event types the AI Manager plugin can generate, from alarms to counting objects. This example selects the *Objects Counted* type.

On the right side, configure what happens when one of these events triggers, such as an email or notification. This example selects **Show text overlay** in the **Do** context menu, at the source camera.

If set up correctly, with a model generating counts selected and running, an overlay on the camera feed shows the object counts:

<figure><img src="/files/XVSa9r5LjIG5RvTwFW2i" alt="Objects Counted text overlay on the camera feed"><figcaption><p>Example of Objects Counted text overlay</p></figcaption></figure>

## Confirming It Works <a href="#confirming-it-works" id="confirming-it-works"></a>

Once the plugin is configured and a model pipeline is active, switch to the **Objects** tab in the right pane of the desktop client. Bounding boxes and other model output only appear when the Objects tab is the active tab.

<figure><img src="/files/kVspz7hKhZgu0mwuEyuP" alt="Desktop client with the Objects tab active, showing a detected person with face bounding boxes from the AI model"><figcaption><p>Objects tab active: bounding boxes are visible on the camera feed</p></figcaption></figure>

{% hint style="info" %}
If the Objects tab is not visible after enabling the plugin, restart the desktop client; this refreshes the tab list.
{% endhint %}

If no detections appear after a few seconds, check the [Troubleshooting](/ai-manager-v6.1.4/support-and-troubleshooting/troubleshooting.md) section.