For the complete documentation index, see llms.txt. This page is also available as Markdown.

Region of Interest

Limit inference to a rectangular region of the video frame.

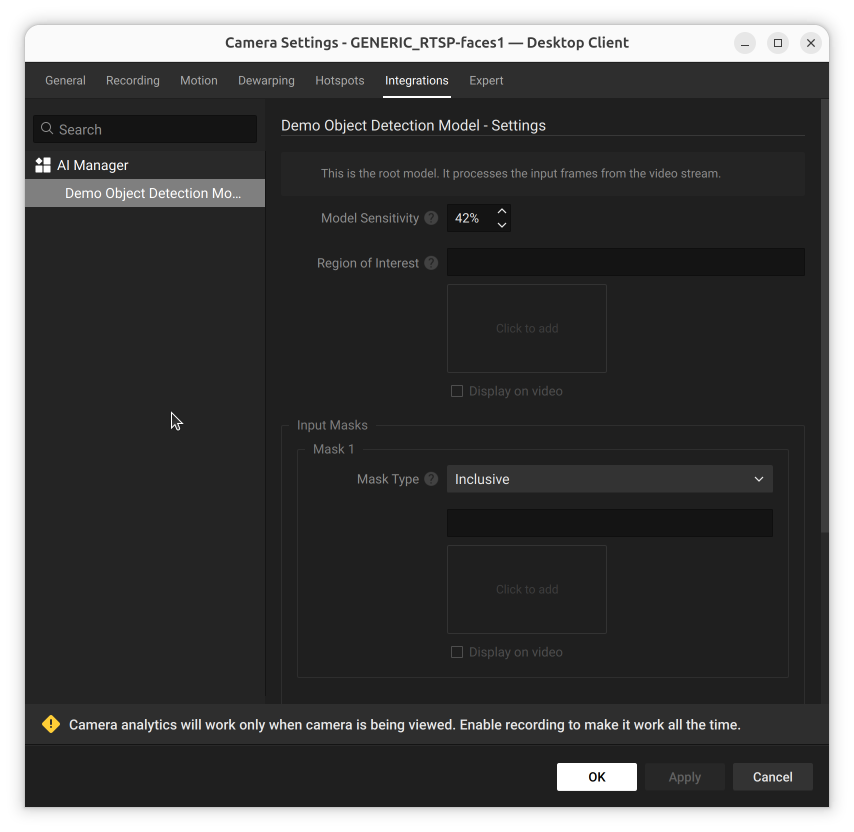
The Region of Interest (ROI) defines a rectangular region of the image sent to the AI Manager; the model does not see the parts outside the region. It appears in the model's own Model Settings section, below the Model Sensitivity field:

Model Settings panel for the root model showing the Model Sensitivity percentage field and empty Region of Interest and Input Mask controls
The Model Settings panel without a region of interest
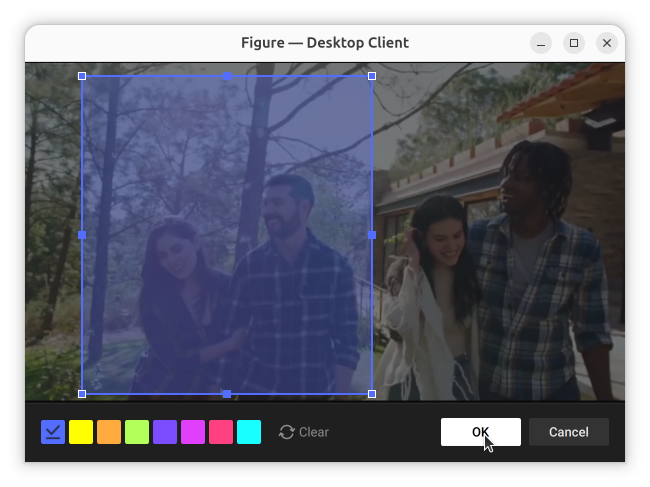
Click inside the Region of Interest field to open the figure editor, then drag out a rectangle over the part of the frame that should be sent to the model:

Figure editor dialog with a blue rectangle drawn over part of the camera image, resize handles visible, and the cursor over OK
Editing a region of interest

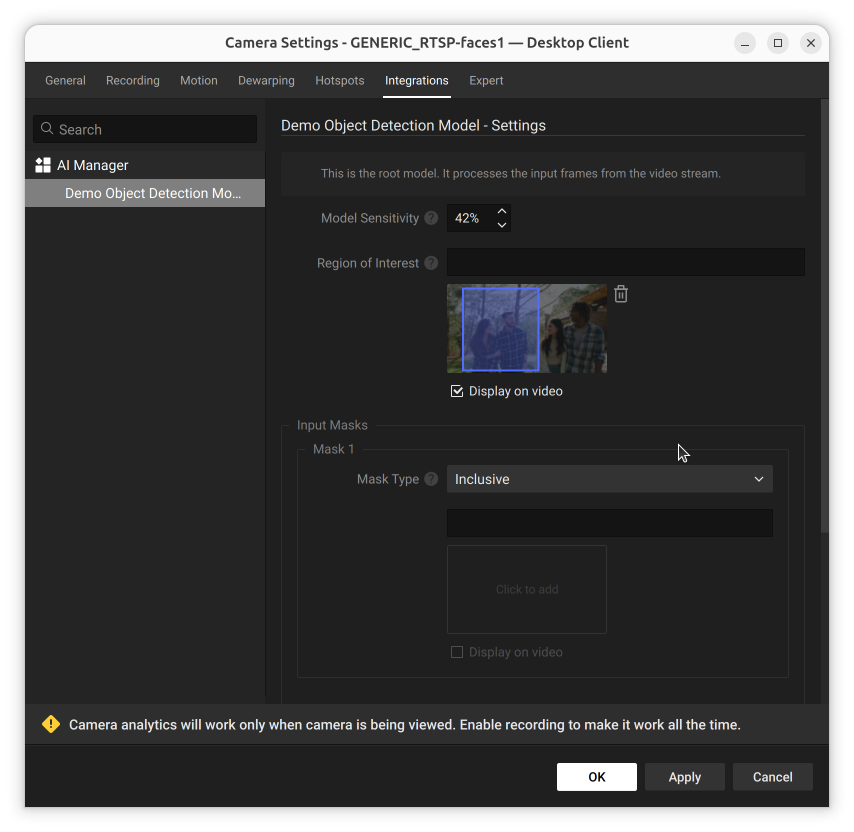
Click OK to save the shape. A thumbnail preview appears in the Region of Interest field, with a Display on video checkbox to show the region as an overlay in Live View:

Model Settings panel showing a Region of Interest thumbnail preview with a blue rectangle drawn over part of the camera image and Display on video checked
The Model Settings panel with a region of interest
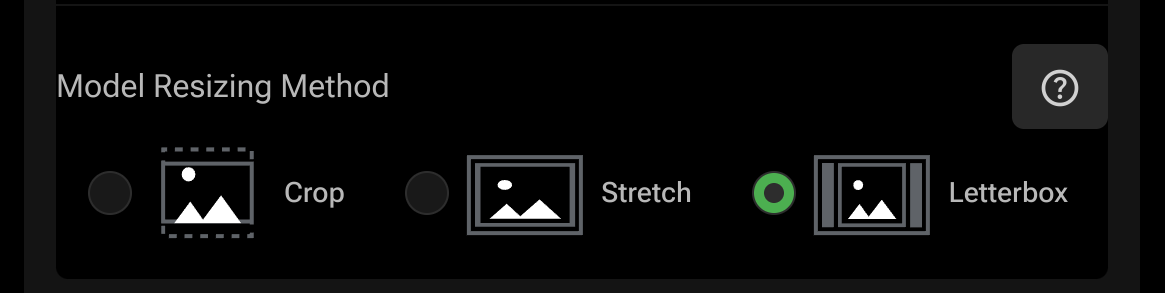
Using a region of interest also means the image sent to the model must be a rectangle; set the model resizing method to letterbox for the model to work correctly.

Model resizing method setting in the plugin configuration
Set the model resizing method to letterbox when using ROI
See Resize Method for the other resizing options.

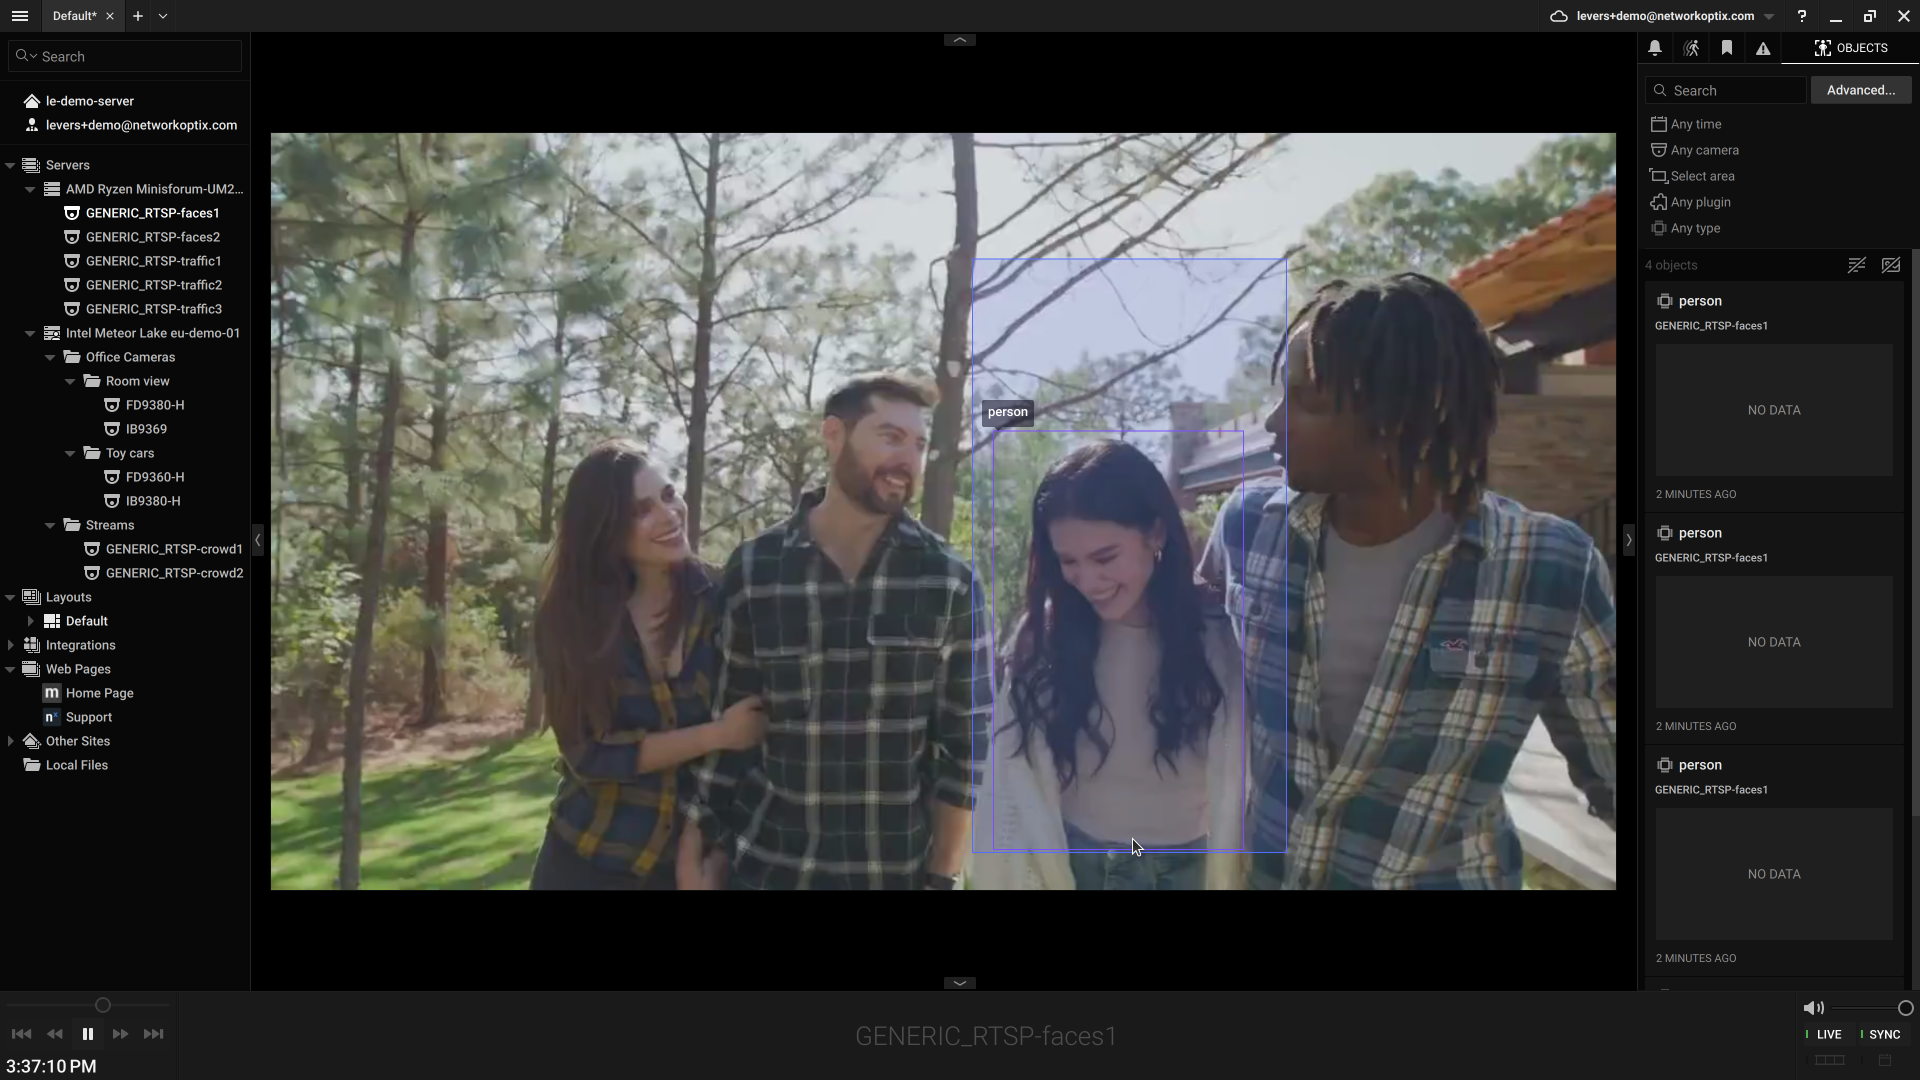
Confirm it in Live View: only the region inside the rectangle is processed, dimming the rest of the frame.

Live View showing a blue Region of Interest rectangle over part of the frame, with only the person inside the rectangle detected and labeled
ROI overlay in Live View

Click Apply for changes to take effect.

Last updated