> For the complete documentation index, see [llms.txt](https://nx.docs.scailable.net/llms.txt). Markdown versions of documentation pages are available by appending `.md` to page URLs; this page is available as [Markdown](https://nx.docs.scailable.net/ai-manager-v6.1.4/ai-manager-plugin/howtos/training-loop-with-edge-impulse.md).
# Training Loop with Edge Impulse
Create a loop with the Edge Impulse training platform and the AI Manager.
## General Preparation
This tutorial assumes you have the following things already set up:
* Nx Cloud account.
* Nx Meta system installed.
* System connected to Nx Cloud account.
* Client installed.
* Device added to configuration.
* AI plugin installed.
* Install the [sclbl-integration-sdk repository](https://github.com/scailable/sclbl-integration-sdk).
* `git clone https://github.com/scailable/sclbl-integration-sdk.git`
* Followed the ‘Get started’ instructions.
## Edge Impulse Preparation
When building a loop with Edge Impulse, you need a project with a trained model, plus its API key and project ID. See [Step 1: Coupling Your Edge Impulse Model With Nx](/ai-manager-v6.1.4/ai-models-support/importing-models/from-edge-impulse.md#step-1-coupling-your-edge-impulse-model-with-nx) for where to find both.
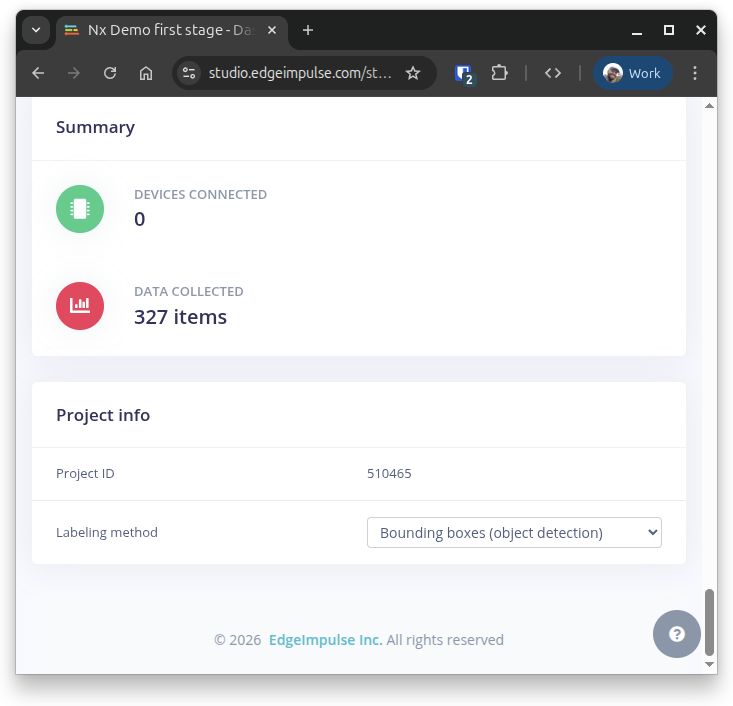
The project ID is also shown in a box on the project info page:
## Steps
This loop consists of 7 steps.
1. Add model to the AI Manager Cloud
2. Update postprocessor
3. Configure model and postprocessor
4. Run the model
5. Check the data
6. Update the model in the cloud
7. Update model in the system
## Step 1: Add Model to AI Manager Cloud
Add the model of the training platform to the AI Manager Cloud.
## For Edge Impulse
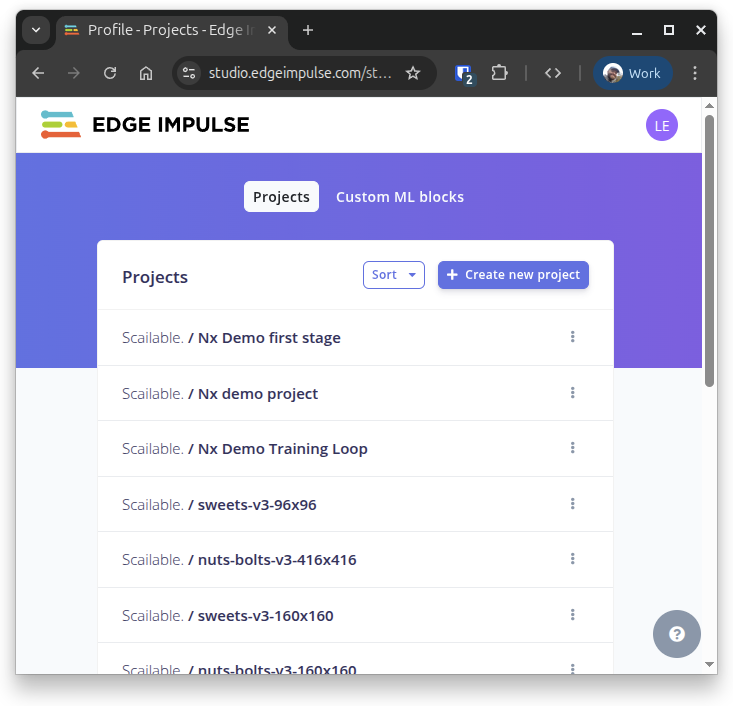
Start by creating a new project on the Edge Impulse platform:
Edge Impulse project overview - start here to build and train your model
Upload and annotate your training examples, then train an object detection model. A getting started guide is available at .
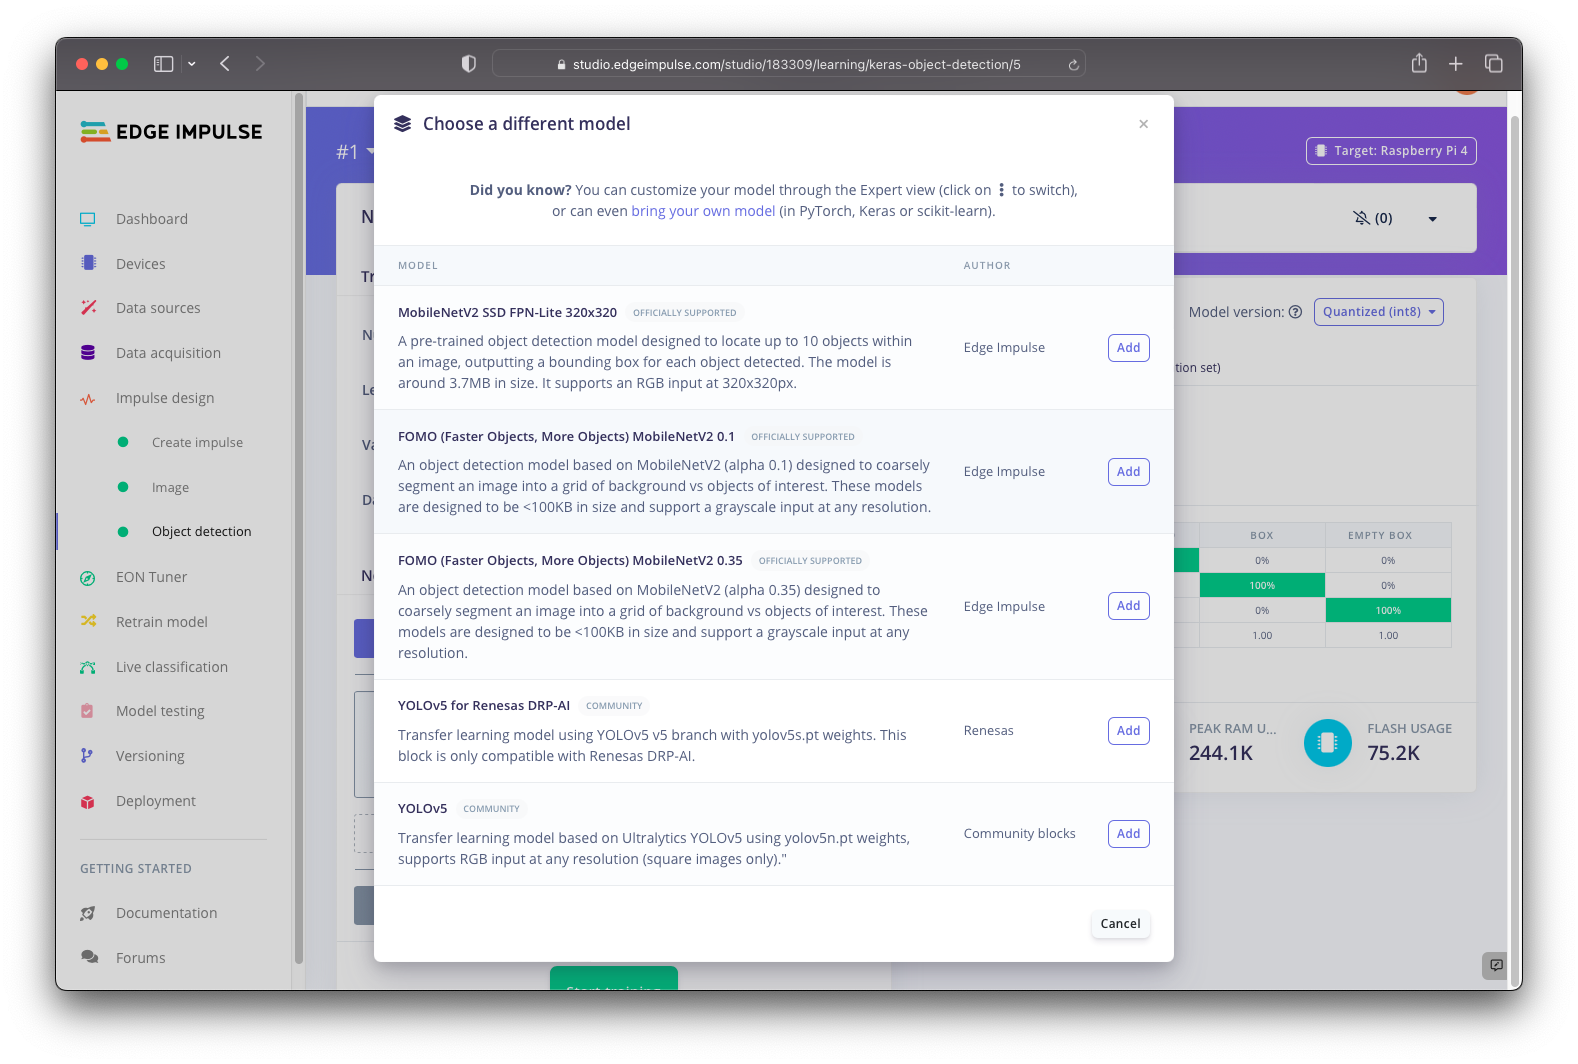
Work through the data acquisition and impulse creation steps to reach the model selection screen:
Select FOMO MobileNetV2 or YOLOv5 - these are the models supported for import into AI Manager Cloud
Select **FOMO MobileNetV2 (0.1 or 0.35) or YOLOv5**. Click "Start training" and wait for training to finish.
{% hint style="warning" %}
Only **FOMO MobileNetV2** and **YOLOv5** are supported for import from Edge Impulse.
{% endhint %}
{% hint style="success" %}
Due to policy changes, Edge Impulse has removed the built-in YOLOv5 block. Your existing model will still work. To train a new model, re-upload the YOLOv5 block following the instructions at . This takes about 5–10 minutes.
{% endhint %}
Once training finishes, link the trained model to the AI Manager Cloud. See [Step 1: Coupling Your Edge Impulse Model With Nx](/ai-manager-v6.1.4/ai-models-support/importing-models/from-edge-impulse.md#step-1-coupling-your-edge-impulse-model-with-nx) for the full walkthrough with screenshots.
## Step 2: Update Postprocessor
This step takes an example postprocessor from the sclbl-integration-sdk and modifies it with a specific condition to filter only certain images for sending.
## For Edge Impulse
1. Open the sclbl-integration-sdk into your favourite editor.
2. Open the following Python script: postprocessor-python-edgeimpulse-example/postprocessor-python-edgeimpulse-example.py
3. Find the location where the API is set and replace it with the API-key from your project. Look for the line: `edgeimpulse.API_KEY`
4. Find the line `upload_sample = False` and modify the code below that to suit your condition.
5. Compile and install the postprocessor using the instructions in the README.md of the project.
## Step 3: Configure Model and Postprocessor
Select the model and postprocessor.
1. In the desktop client go to the device, right click and select ‘Camera settings’.
2. Go to the tab ‘Plugins’ and select the ‘AI Manager’.
3. Click **Manage Server**, then click the icon with left-right arrows called **Switch**, or **Assign a New Model** if no model is assigned yet.
4. Choose the model from step 1 and click ‘Ok’.
5. Under the heading ‘Assigned Models’, select ‘Post Processor’ and select your post processor from step 2. If you didn’t rename it from the README it is called ‘Example-Postprocessor’.
6. Under the heading ‘Runtime Status’, click ‘Start’ and wait for the status to be ‘Runtime is running’.
7. Click ‘Ok’ at the bottom.
## Step 4: Run the Model
To run the model the device must be visible in the layout.
1. Double click your device to make it visible.
2. On the top right click the left icon ‘Object search’ if the model contains bounding boxes to see them.
## Step 5: Check the Data
This step checks the incoming data, labels it, and retrains the model.
## Edge Impulse
See also the section on [importing models from Edge Impulse](/ai-manager-v6.1.4/ai-models-support/importing-models/from-edge-impulse.md).
1. Go to the project page.
2. Select ‘Data acquisition’.
3. Training and Test should contain data coming from the server.
4. Label the data.
5. Select ‘Retrain model’ and then ‘Train model’.
## Step 6: Update the Model in the Cloud
This step updates the model in the AI Manager Cloud.
1. Two ways to update the model
1. Go back to the ‘Manage server’ in the desktop client / AI plugin and click the name of the model.
2. Log into the AI Manager Cloud and go to the model.
2. Click the button ‘Update from \’
## Step 7: Update Model in the System (Work in Progress)
This step updates the models in the system.
1. (option not available yet) In the desktop client / AI plugin click the button ‘Update models’.
2. Manually delete the model cache. Follow these instructions:
On the commandline:
```bash
cd /opt/networkoptix-metavms/mediaserver/var/nx_ai_manager/cache
rm *
```
In the desktop client / AI plugin stop and start the plugin