For the complete documentation index, see llms.txt. This page is also available as Markdown.

Starting the plugin

This page provides instructions on how to install the AI Manager Plugin

After successful installation of the server and desktop client, open the desktop client. The welcome screen lets you log in via Nx Cloud or connect directly to a server:

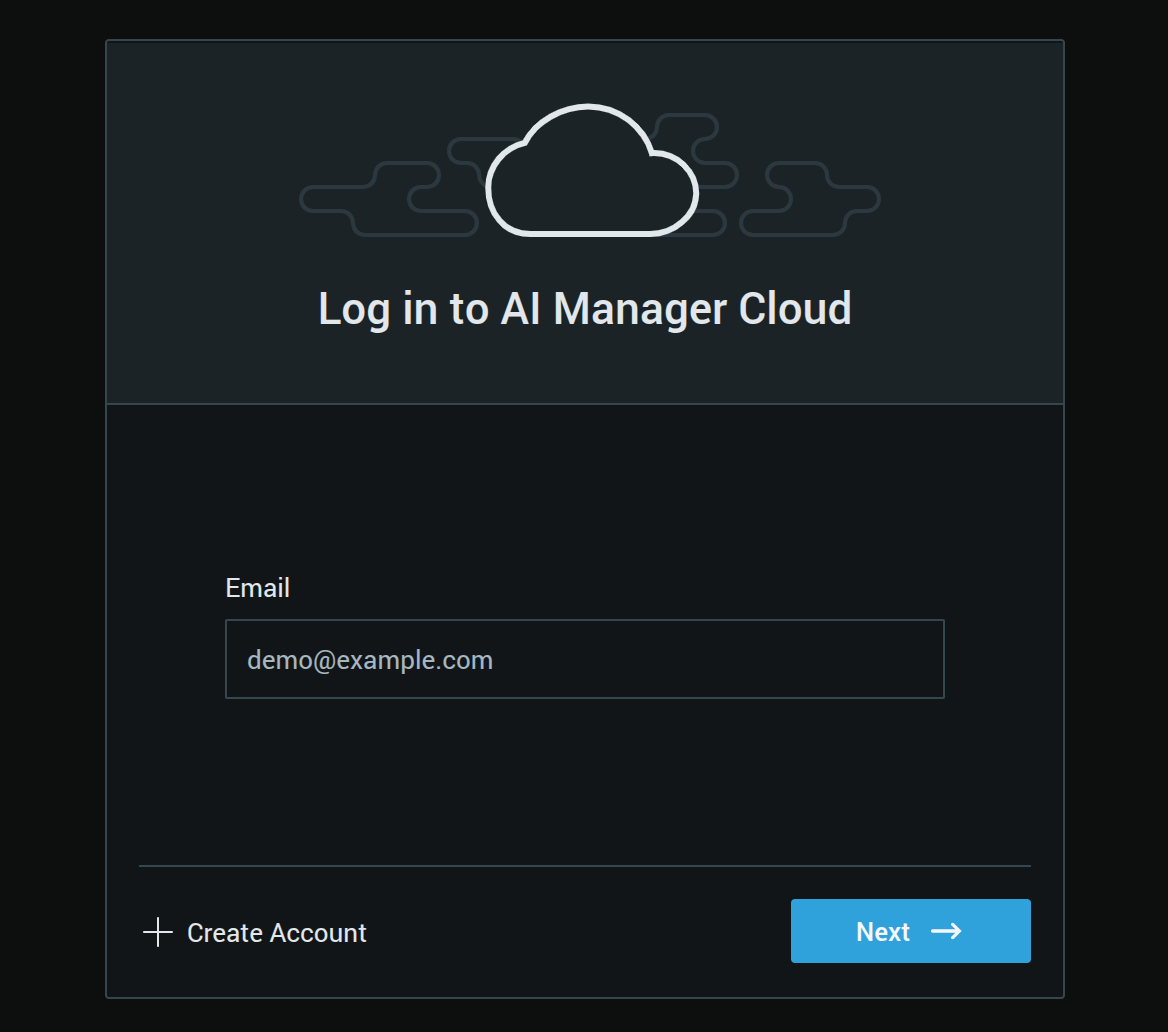
The AI Manager Cloud admin interface login screen
The AI Manager Cloud admin interface - log in with your Nx account to continue
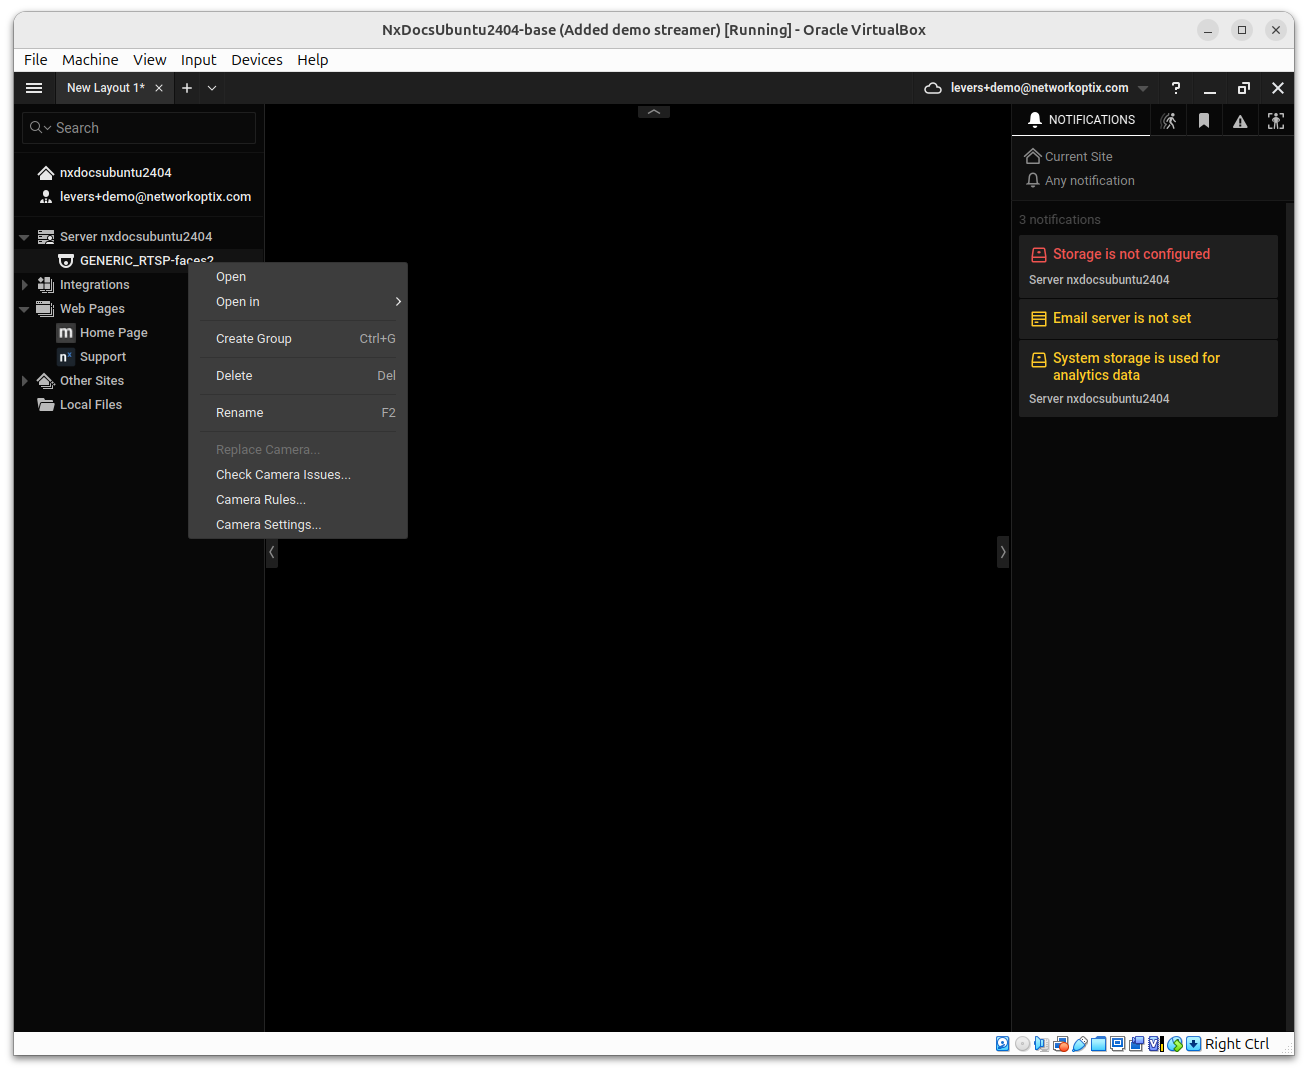
Once connected to a server, an "Integrations" tab appears when opening a camera's settings via the context menu:

Right-click context menu on a camera item showing Camera Settings option
Right-click a camera and choose Camera Settings to open the settings dialog
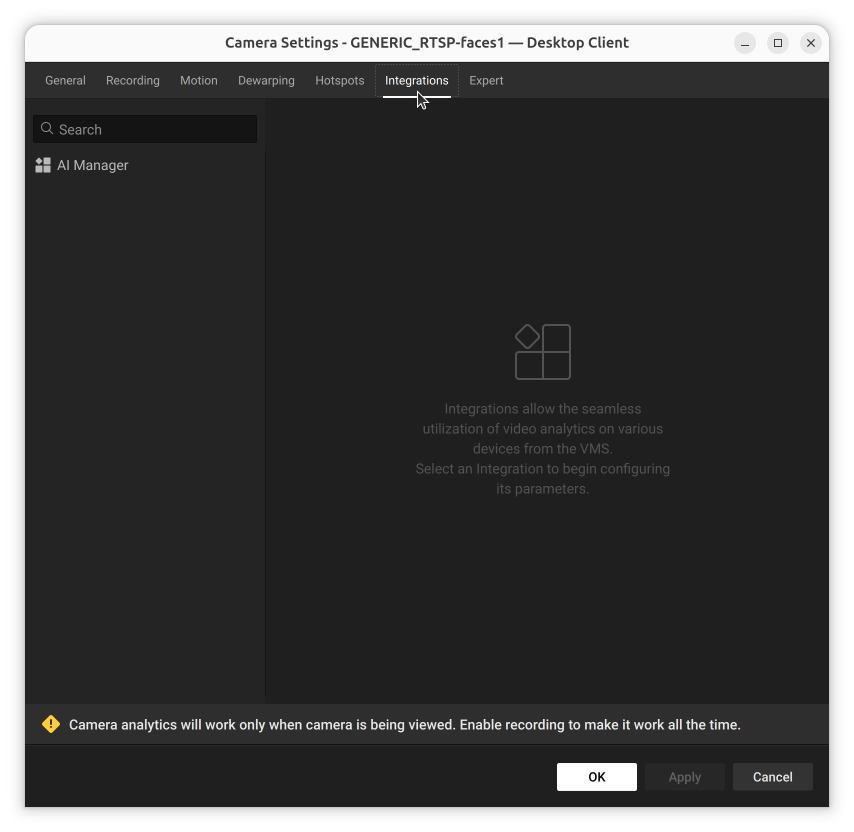
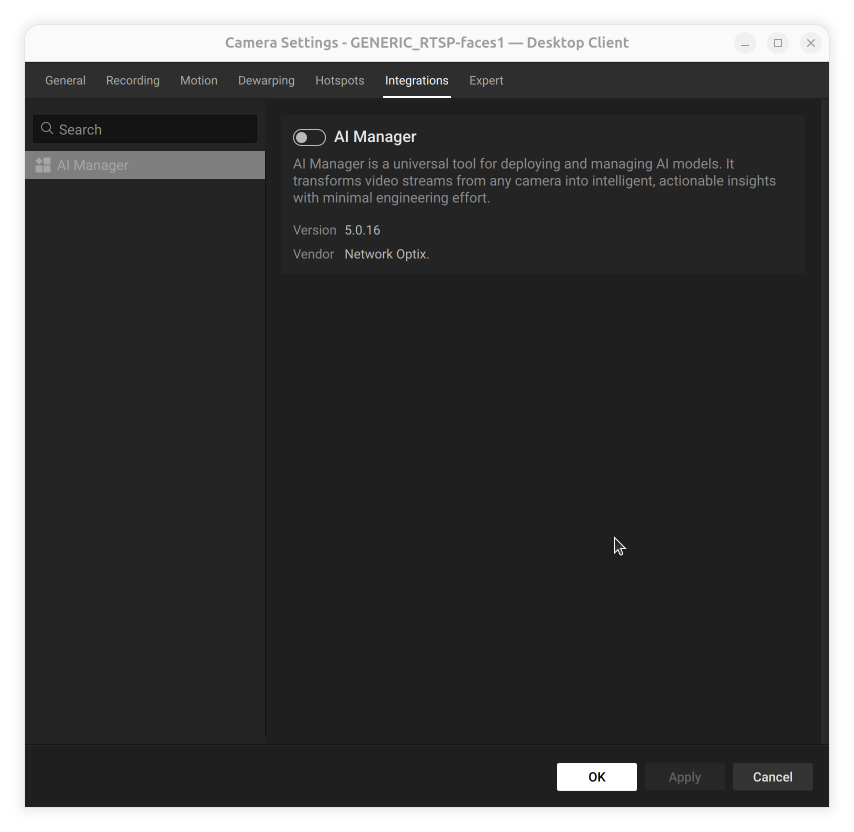
To start the plugin, go to the Integration tab, click the AI Manager tab and enable it by toggling the switch next to the title, then click Apply.

Camera Settings Integrations tab showing the AI Manager toggle in the off position
Plugin disabled - toggle the switch to enable it
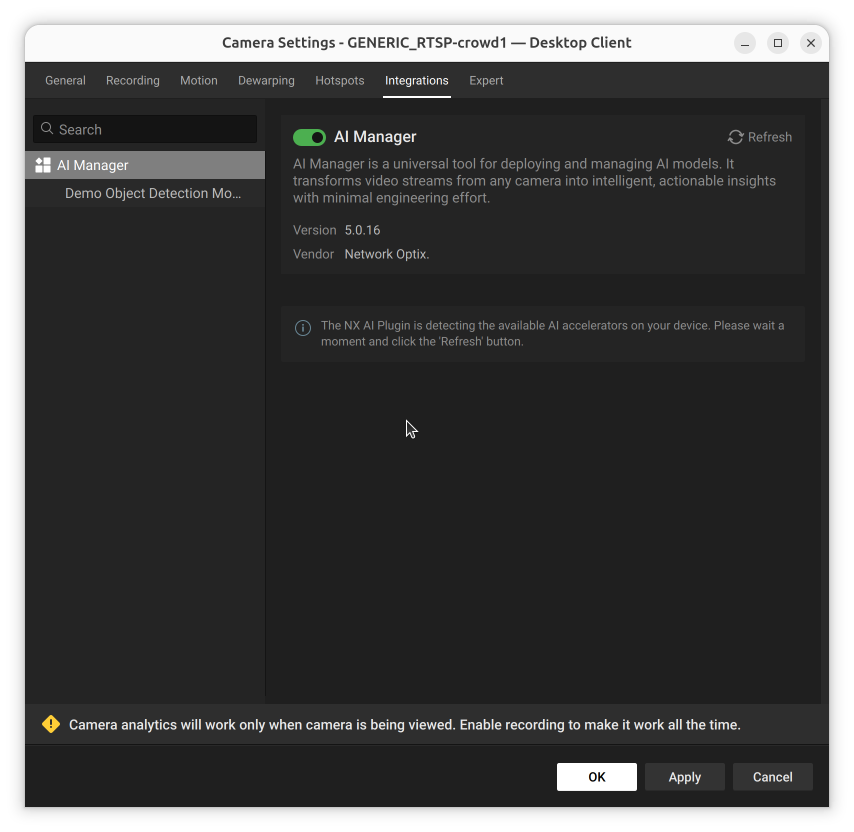
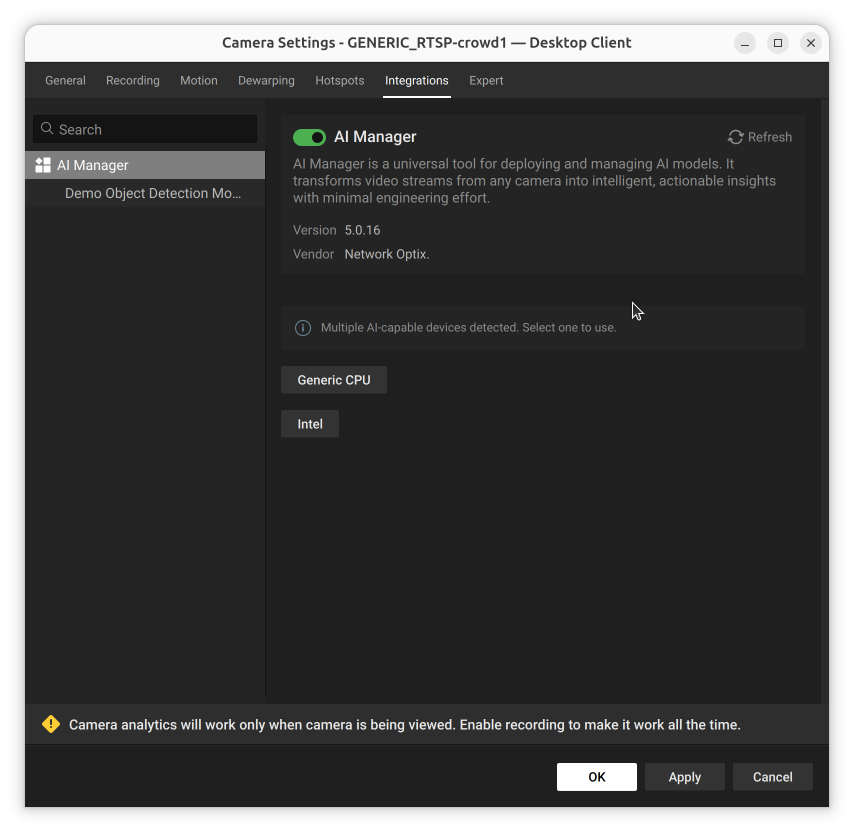
The plugin initializes and detects available AI accelerators on the server. If needed you may need to select an AI accelerator runtime here. Click refresh if nothing appears.

Camera Settings Integrations tab showing the AI Manager active with the AI Pipeline dropdown open showing available pipelines
Plugin active - select a pipeline from the AI Pipeline dropdown

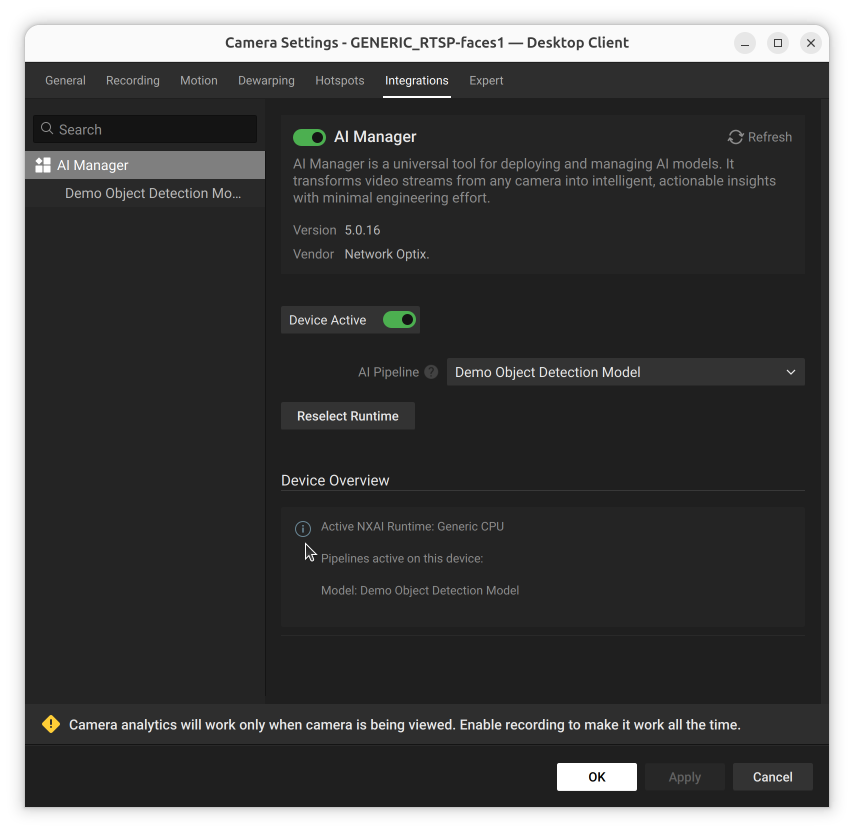
Once the plugin has started, the settings panel shows the active AI pipeline and model controls.

Camera Settings Integrations tab showing the plugin active with AI Pipeline set, Device Active toggle on, and Device Overview listing active pipelines
Plugin active - AI pipeline running with model controls visible

Stopping the Plugin

To stop the plugin, disable the Device Active toggle in the Integrations tab and click Apply. To fully disable the plugin, also toggle off the AI Manager switch.

Last updated