Nx AI Manager Documentation
  • Nx AI Manager plugin v4.3
  • Nx AI Manager
    • Get started with the NX AI Manager plugin
    • 1. Install Network Optix
    • 2. Install Nx AI Manager Plugin
    • 3. Configure the Nx AI Manager plugin
      • 3.1 Model Settings
      • 3.2 Model pipeline selection and configuration
      • 3.3 Model pipelines on multiple devices
    • 4. Other Network Optix Plugin Settings
    • 5. Manual Plugin Installation
    • 6. Removing the Nx AI Manager
    • 7. Advanced configuration
      • 7.1 Nx AI Manager Manual Installation
      • 7.2 External Post-processing
      • 7.3 External Pre-processing
      • 7.4 Training Loop
      • 7.5 Enable ini settings
  • Nx AI Cloud
    • Introduction
    • Registration and log-in
    • Deployment and device management
    • Upload your model
      • Normalization
    • Use your model
    • API Documentation
  • SUPPORT & TROUBLESHOOTING
    • How to get support
    • Troubleshooting
      • Plugin checks
      • OS checks
      • System checks
      • Things to try
      • Controlling the server and the plugin
      • Q&A
  • Videos
    • Howto videos
  • AI Accelerators Support
    • Introduction
    • Supported AI accelerators
    • Nvidia Support
    • OpenVino Support
    • Hailo Support
  • For Data Scientists
    • Introduction
    • About ONNX
    • Custom model creation
    • ONNX requirements
    • Importing models
      • From Edge Impulse
      • From Nota AI
      • From Teachable Machine
      • From Hugging Face
      • From Ultralytics
      • From PyTorch
      • From TensorFlow / TFLite
      • From Scikit-learn
      • Common Models
  • Miscellaneous
    • Nx AI Certification Test
    • Nx AI Manager on SCAiLX
    • Privacy policy
    • Support
    • End user license agreement
    • Nx cloud cookie statement
Powered by GitBook
On this page
  1. Nx AI Cloud

Use your model

PreviousNormalizationNextAPI Documentation

Last updated 3 months ago

After the model is uploaded the model is ready to be used on your devices. To use a model on your device follow the steps below.

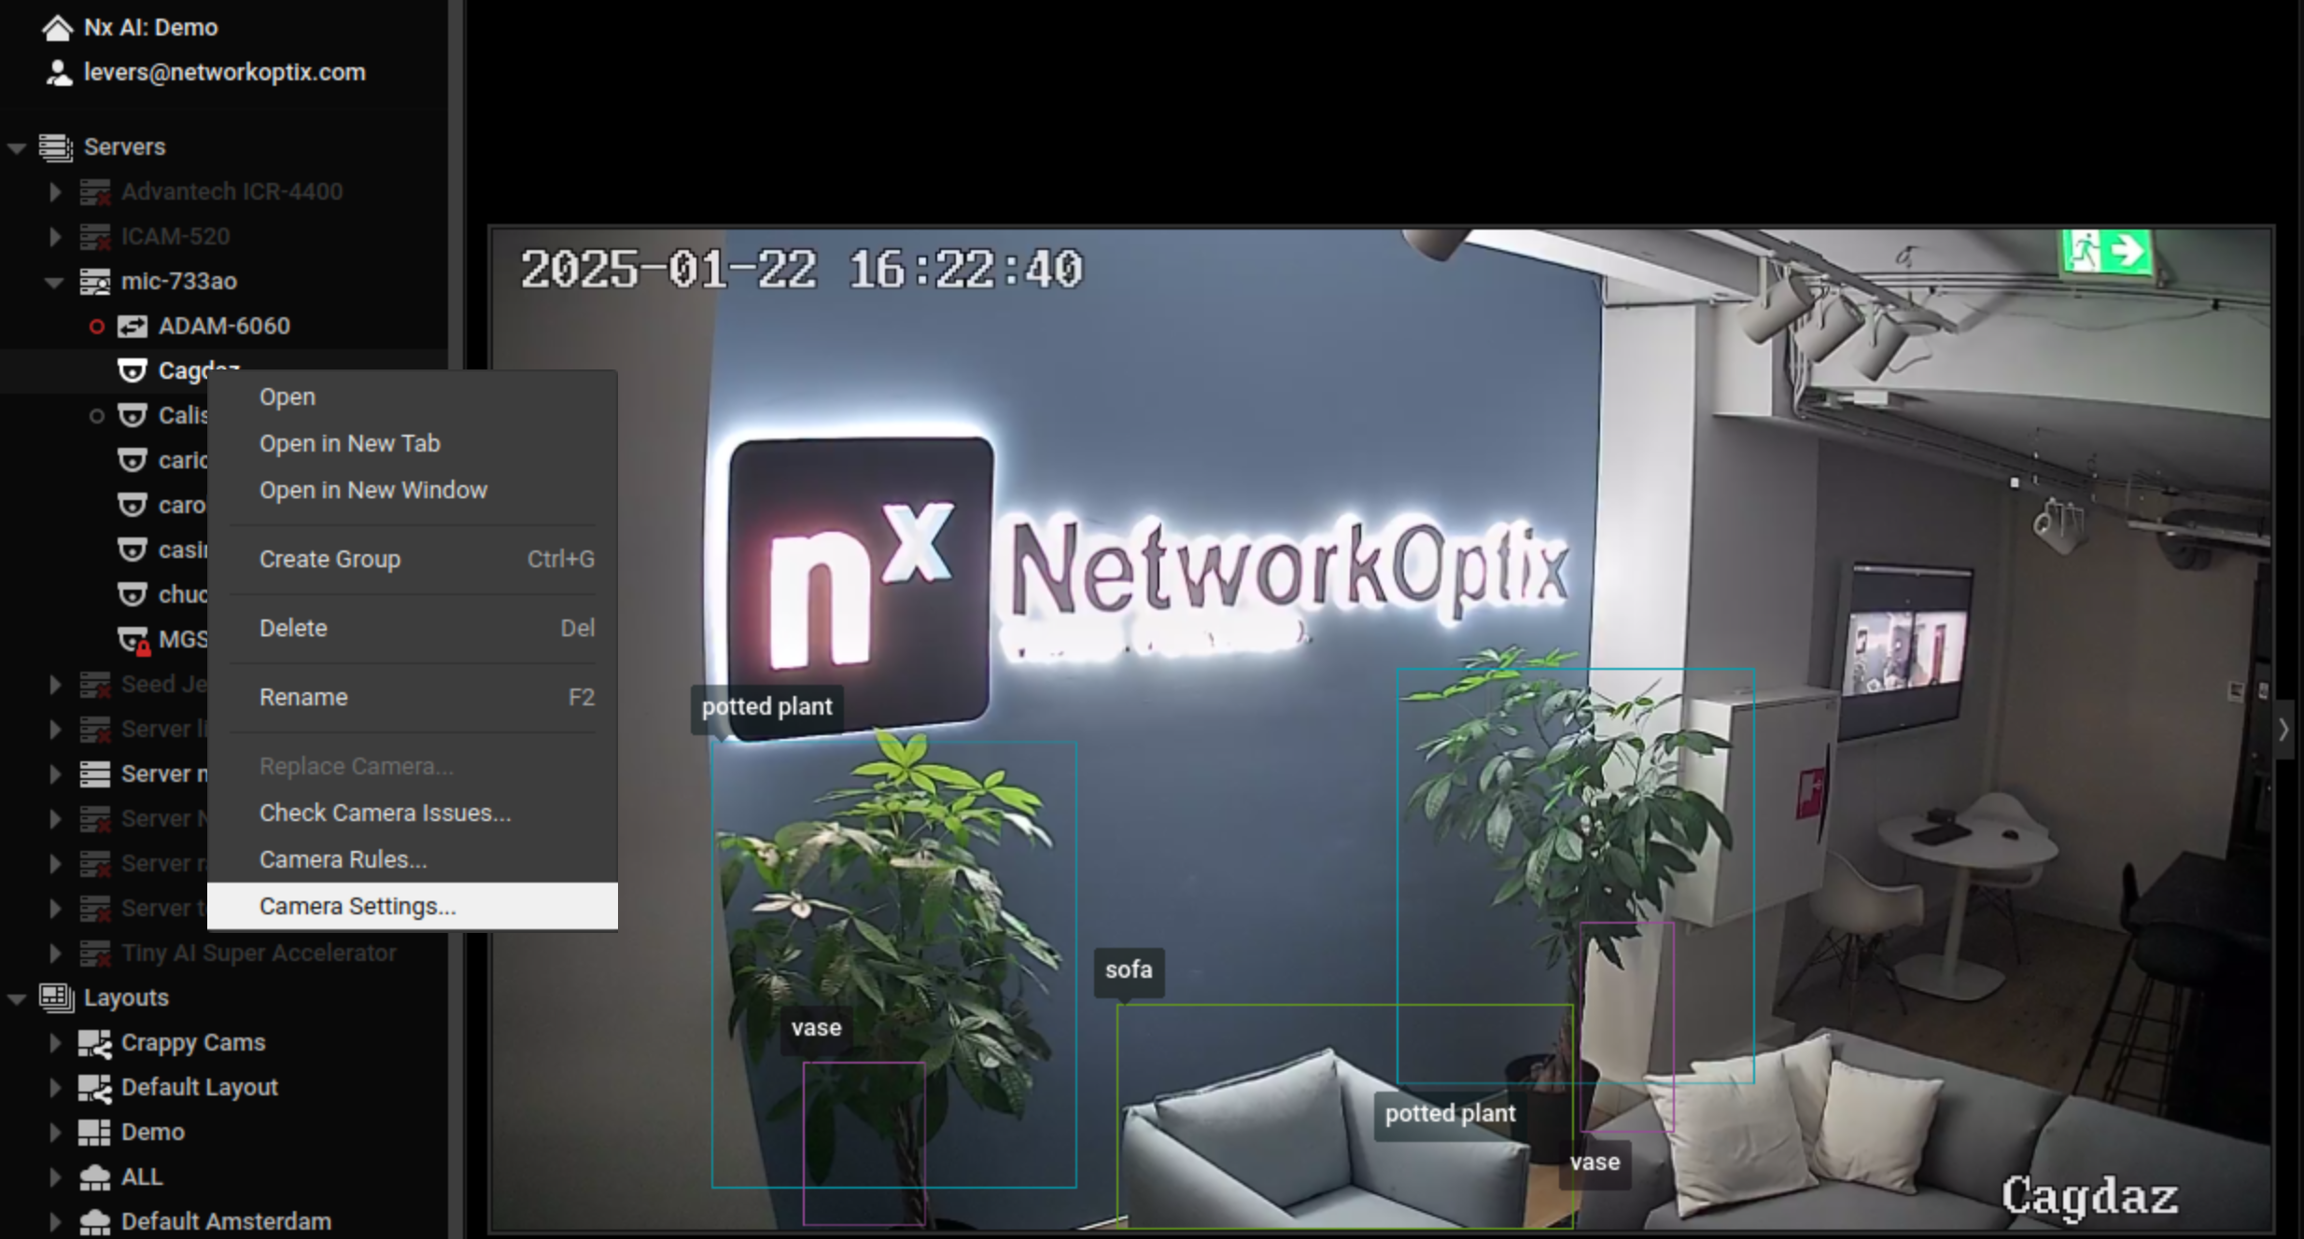
  • Open the device settings in the NX Meta Client by right clicking on a device label and selecting the last option.
  • Navigate to the plugin tab with the NX AI Manager plugin.

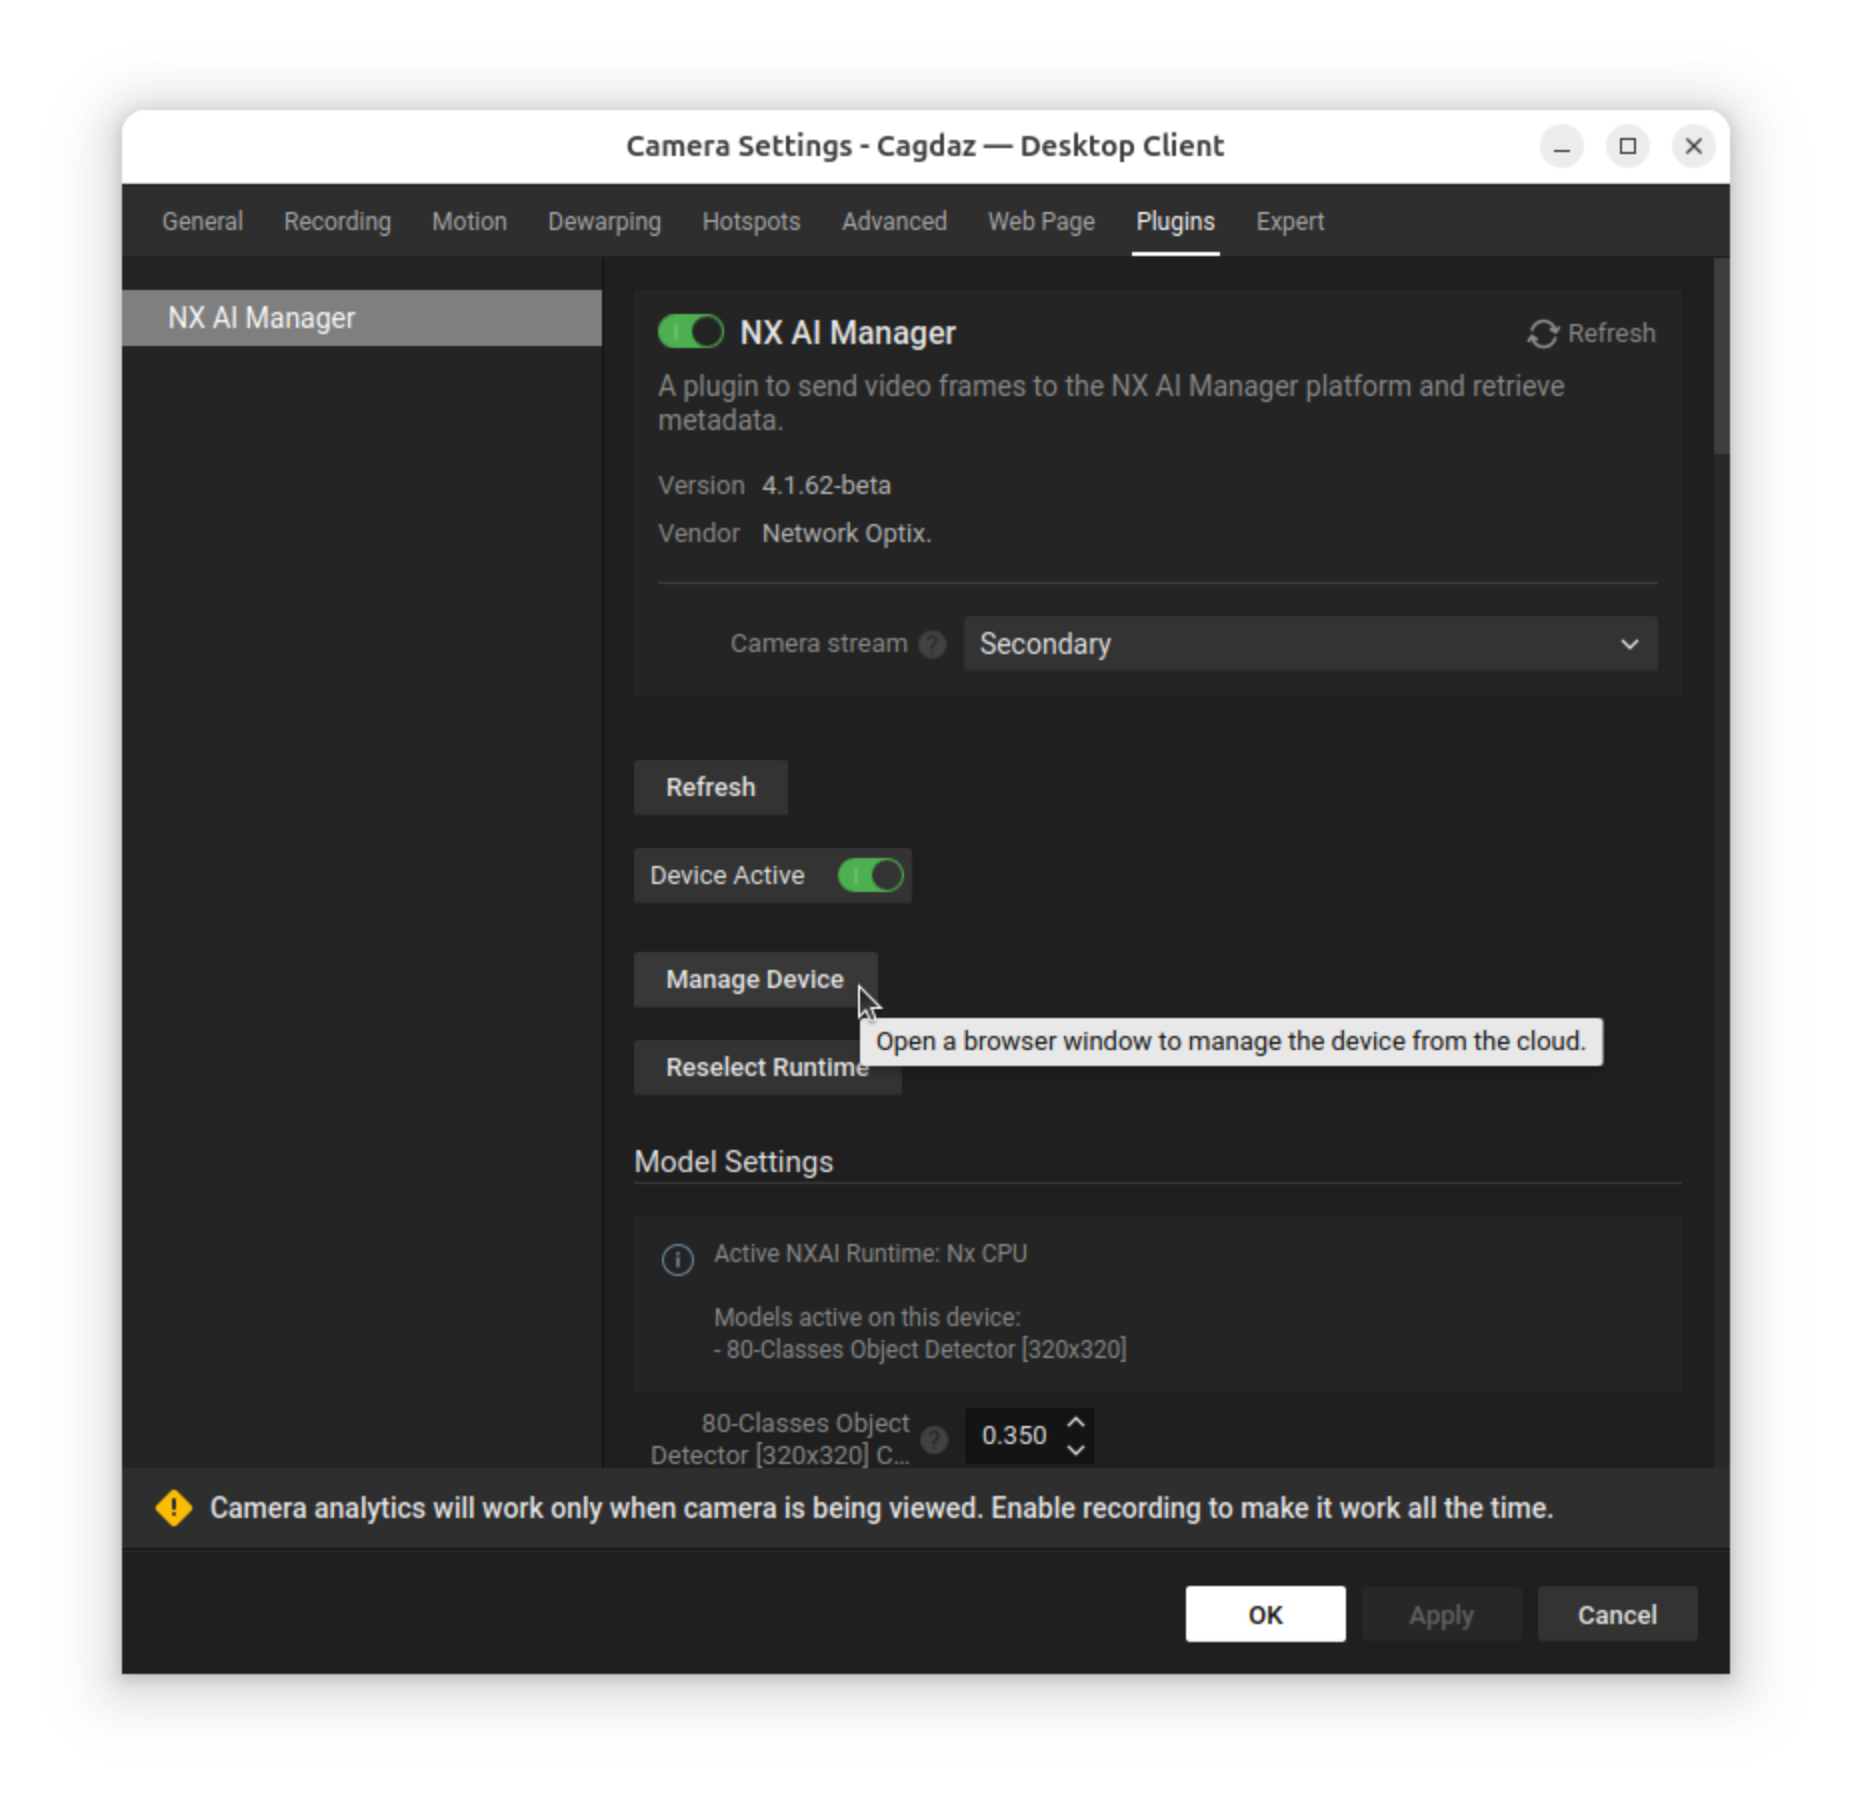
  • Activate the plugin and then the device if necessary.

  • You may need to click apply and refresh the tab.

  • By default a model will be active.

  • A popup window with the NX AI Manager Client will open on the device details page.

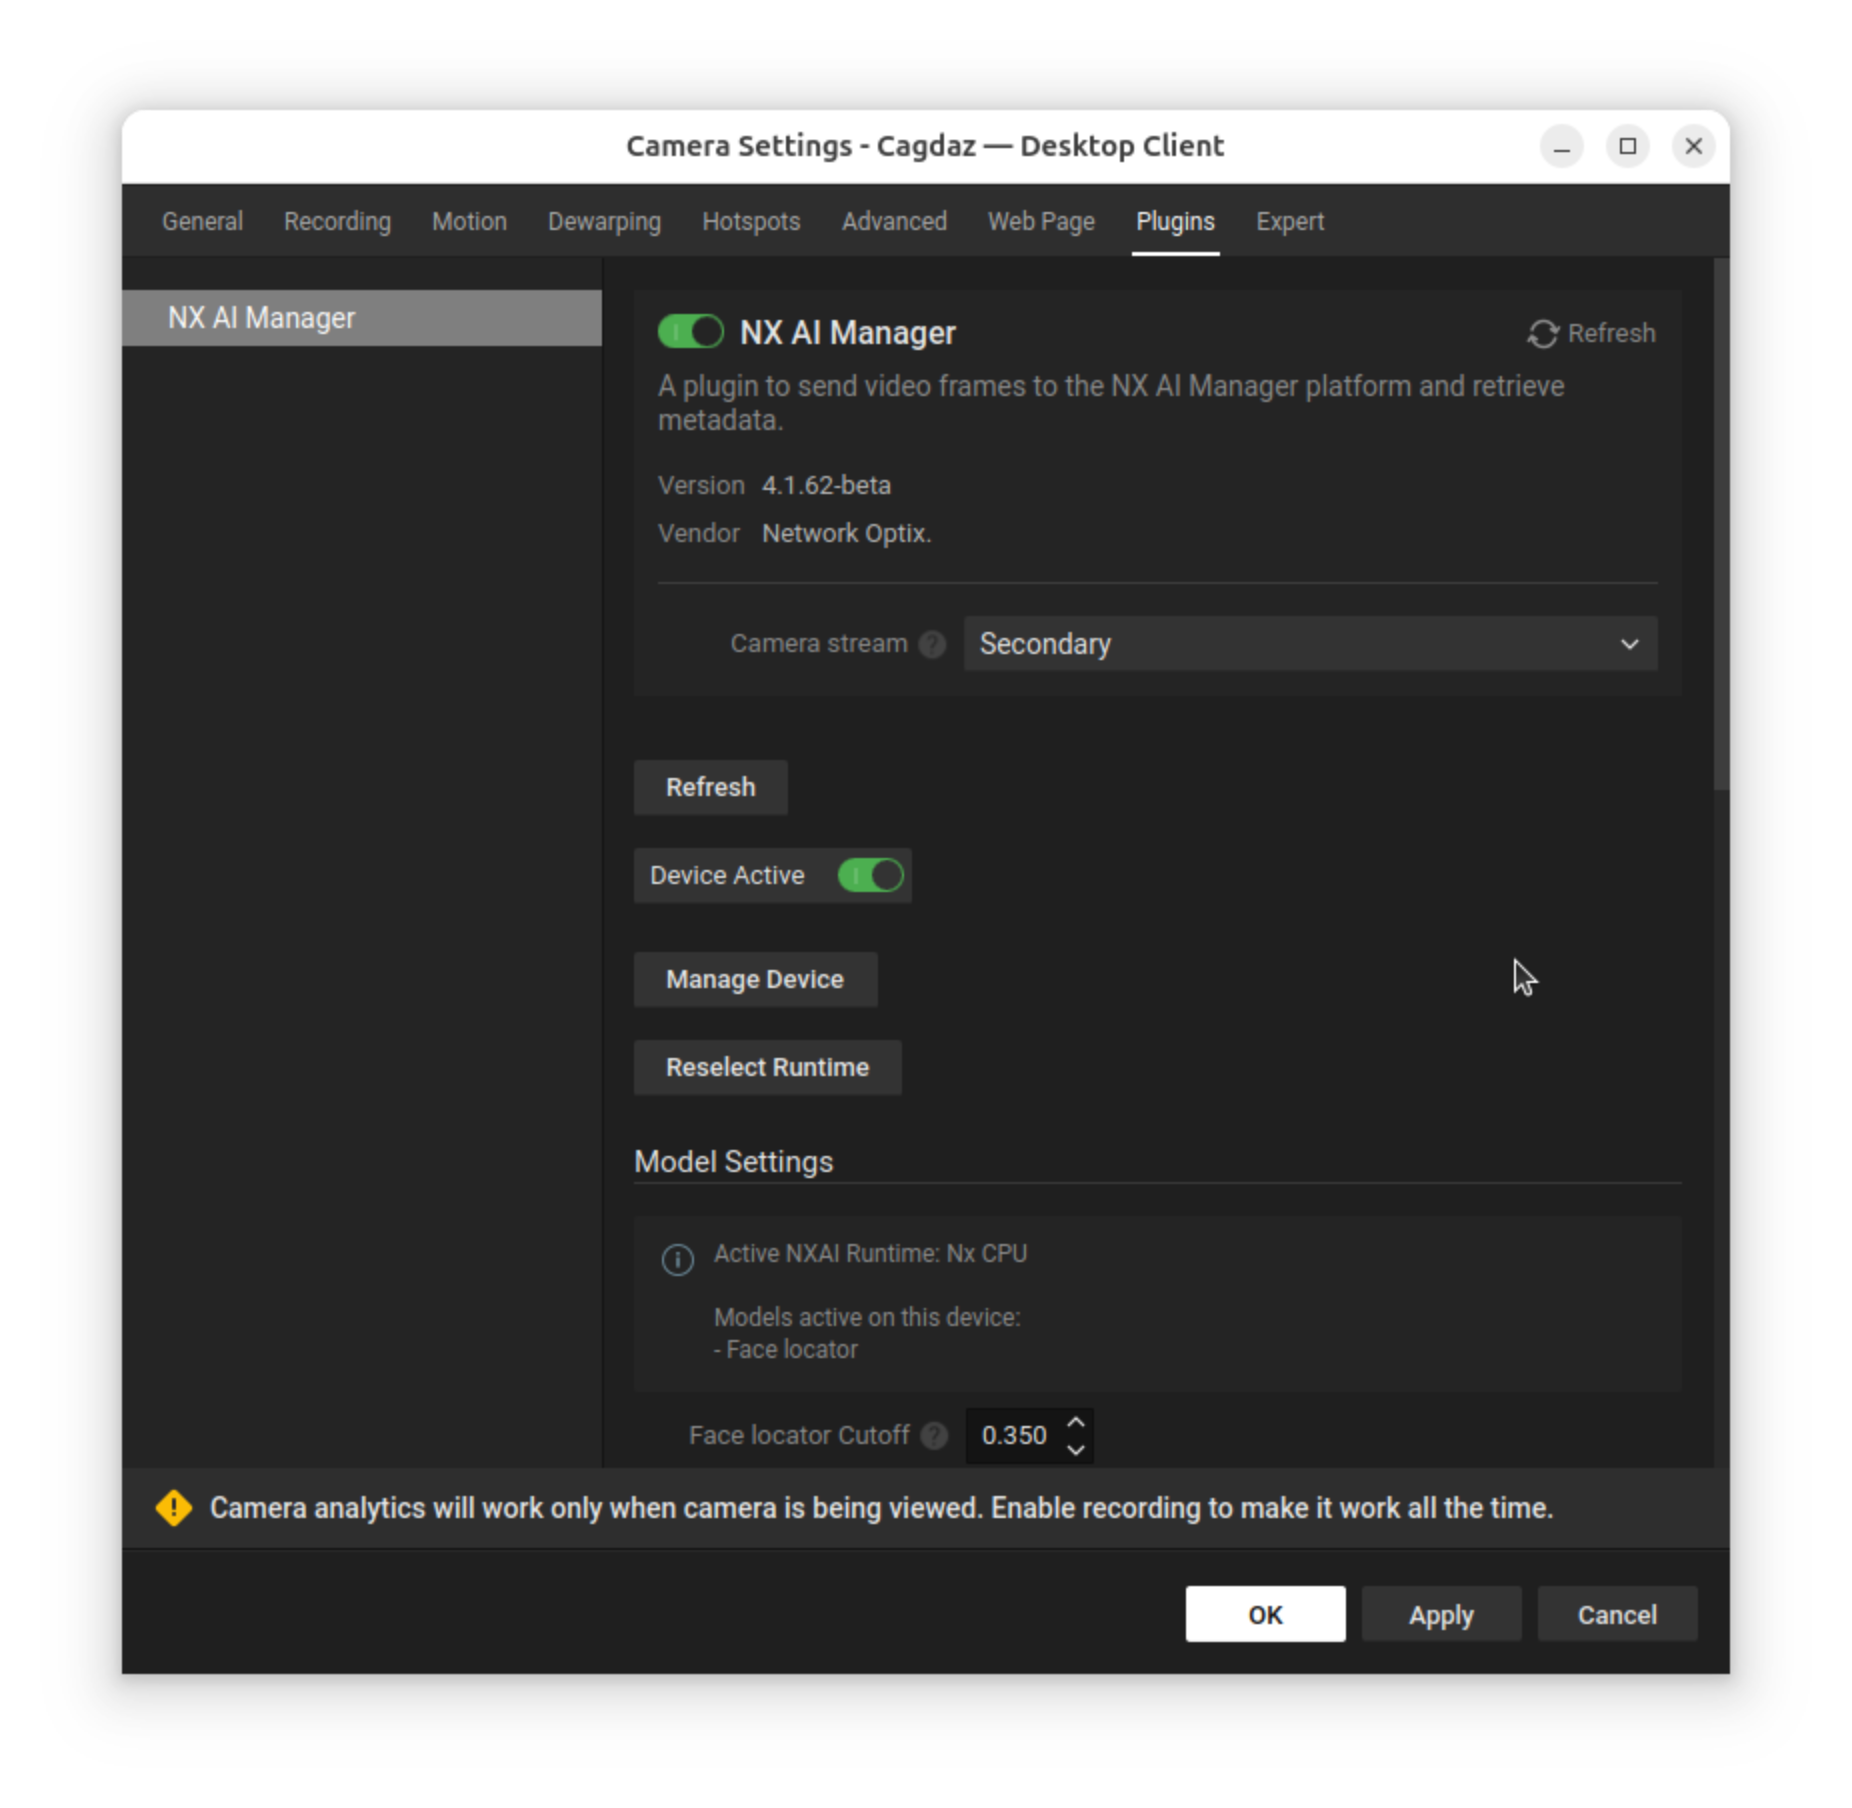
  • You can then browse through the model library and select the uploaded model. (In this example a face locator model is used).

  • The model will then be assigned and automatically downloaded to the server with the device.

  • After which the model is also visible on the plugin tab in the NX Meta Application (you might need to click refresh again for the updates to become visible).

On this page you can switch the model by clicking the switch model button .