3. Configure the Nx AI Manager plugin
This page gives instructions on how to configure basic operations of the Nx AI Manager plugin
Configure Nx Meta
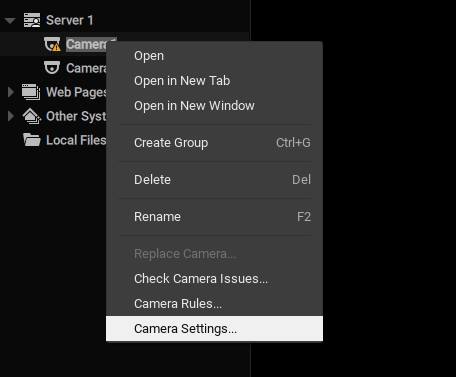
After successful installation of Nx Server and Client, a 'Plugins' tab should be visible when opening a camera's settings:
The plugin can be enabled/disabled per device on the Plugins tab:
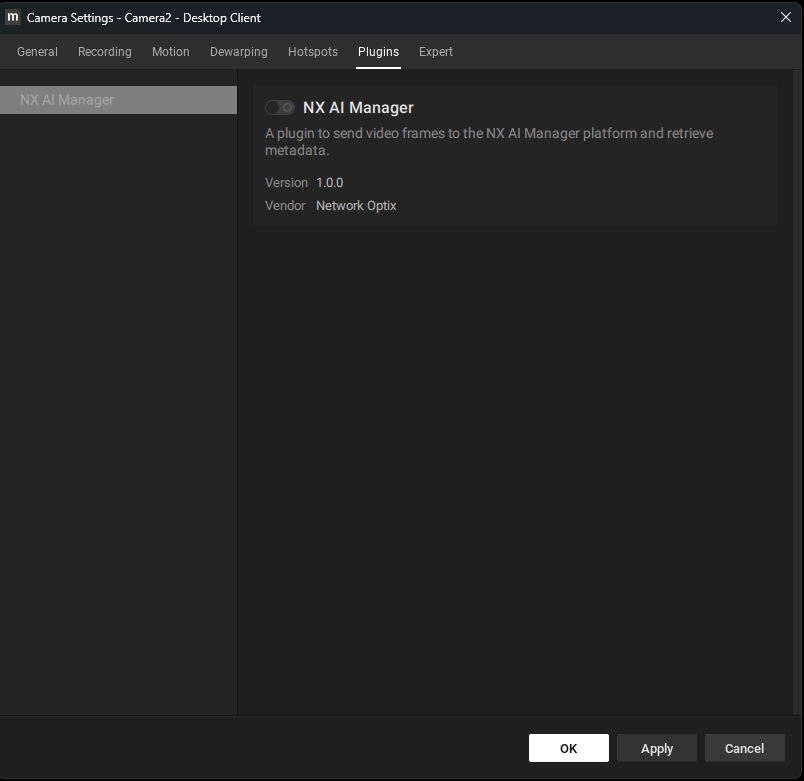
Once the plugin is activated you can change the settings and choose a different model than the default.
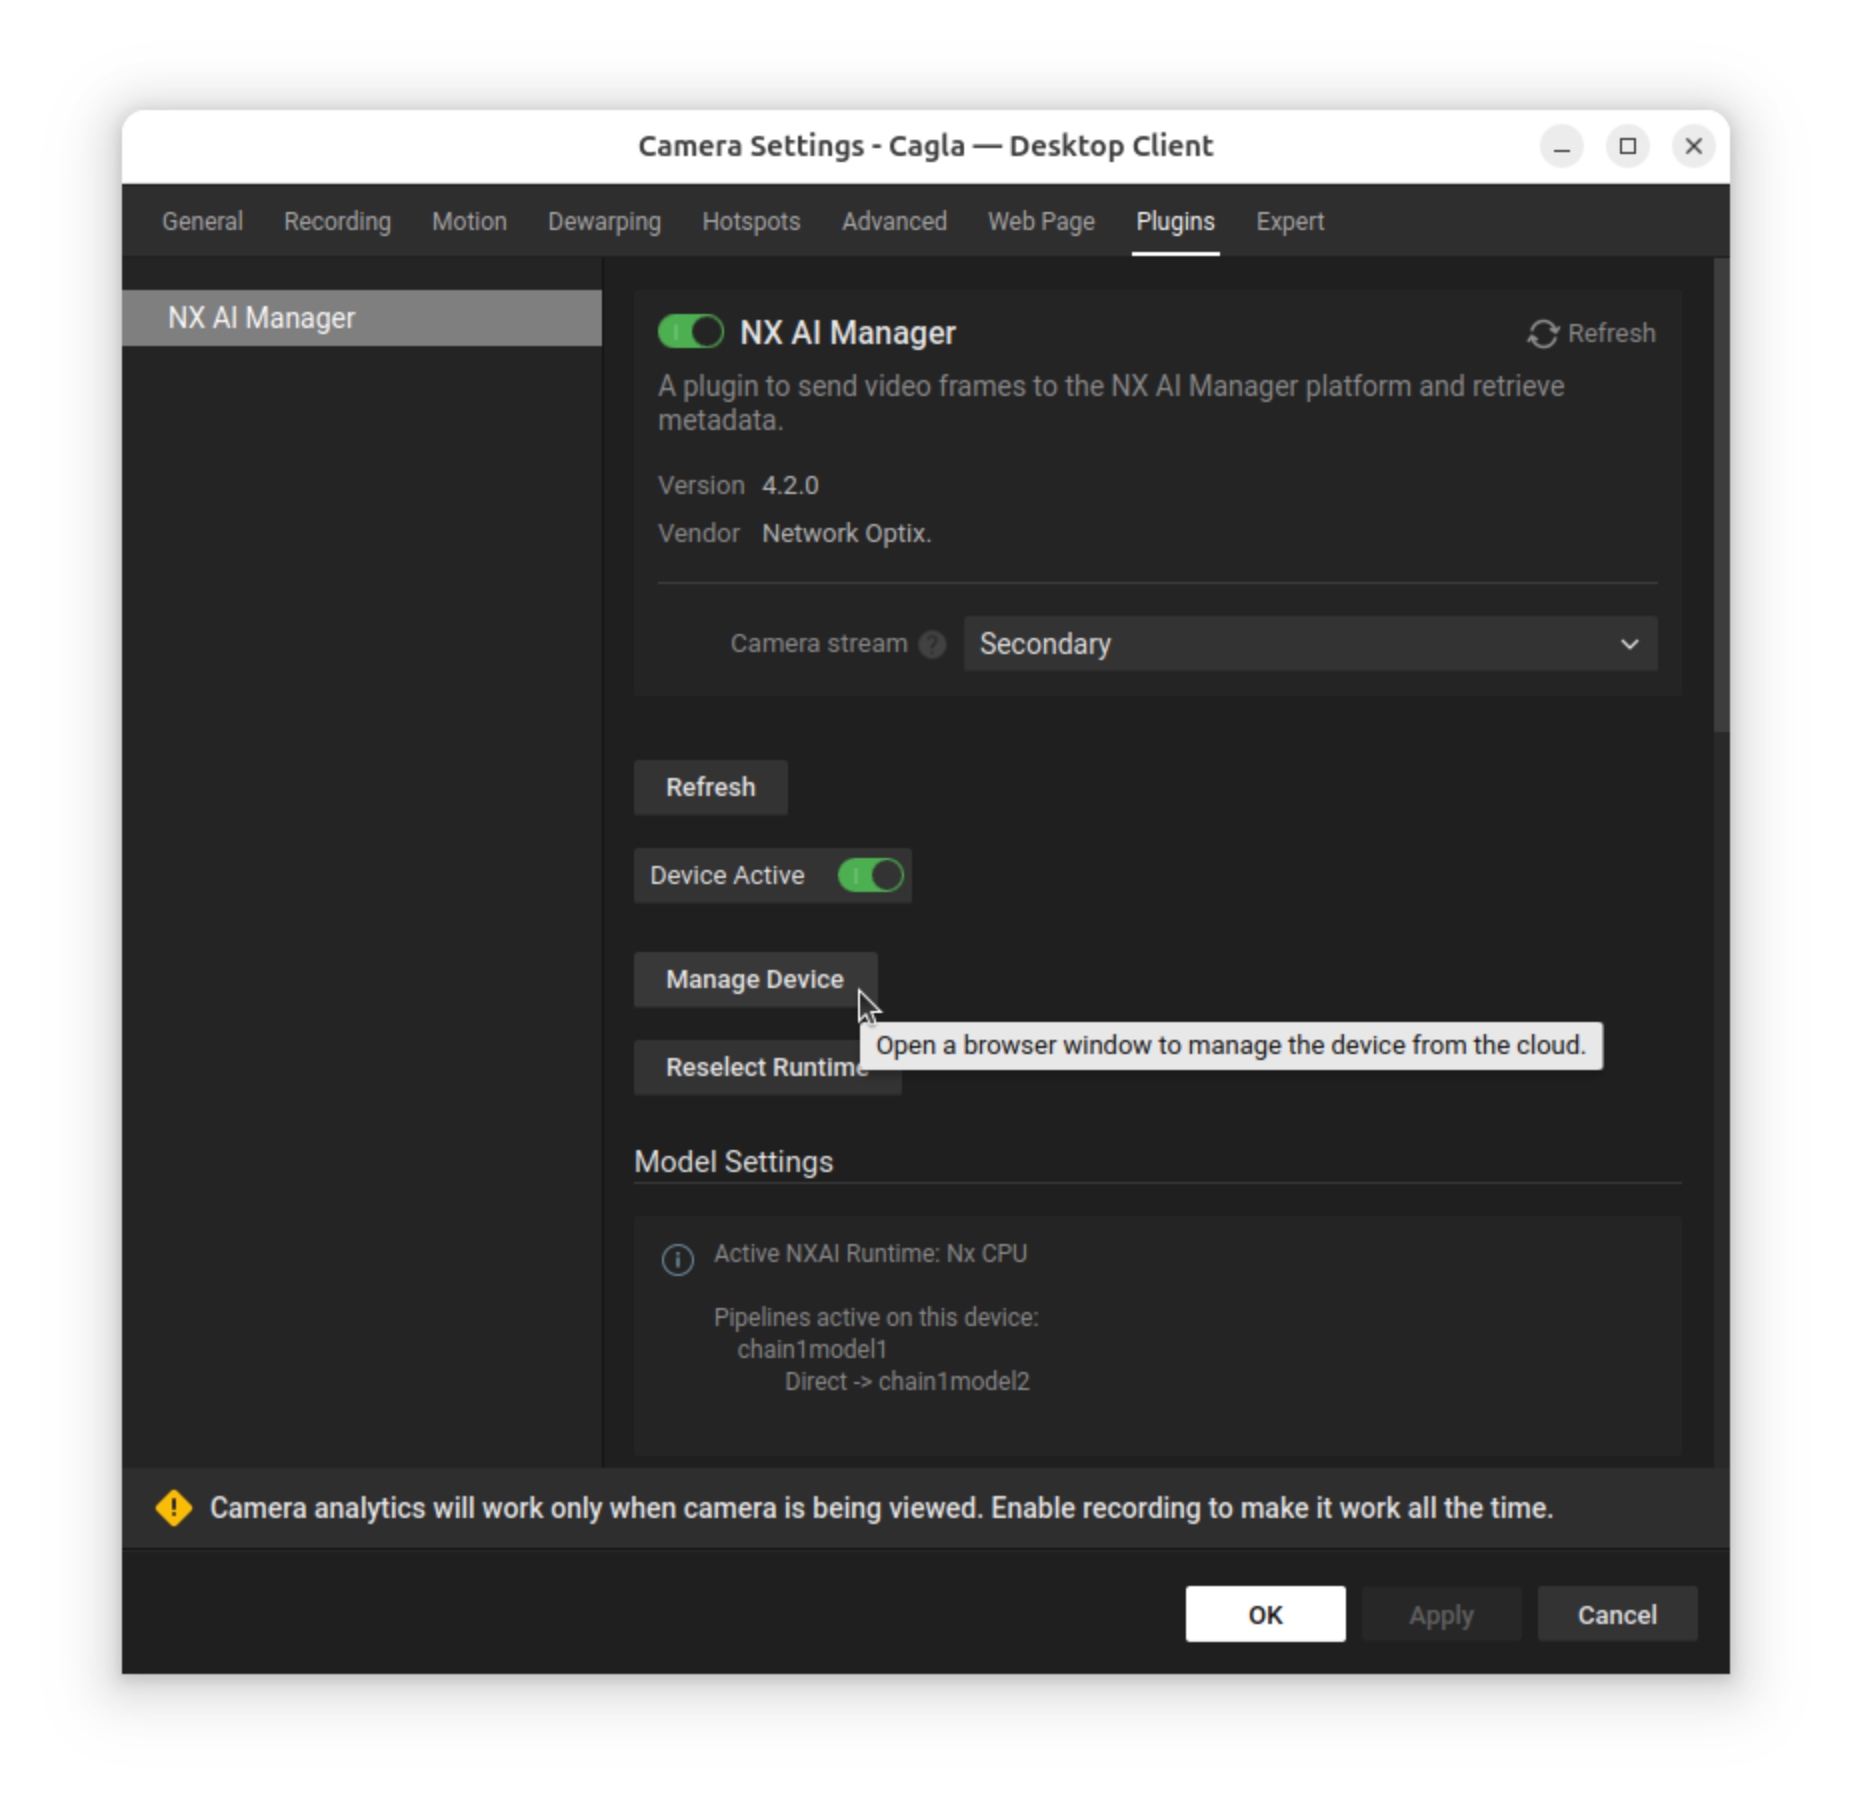
To change a model, click the "Manage Device" button, which will open a Device Client popup with the Nx AI Manager open at the device details page where the model library can be used to select another model.

For specific settings see the next section about the configuration.
Visualizing Bounding Boxes
If a model that outputs compatible bounding boxes is selected and running the Edge AI Manager, bounding boxes can be visualized by visiting the Objects tab on the right pane in the Nx Meta Client:

Adding Event Rules
The Nx AI Manager plugin can generate several different types of events. Network Optix gives the user control over what these events should do, from sending an email to showing a notification. In this example, we will show a text overlay on the video.
Rules can be added by navigating to the Camera Rules menu:
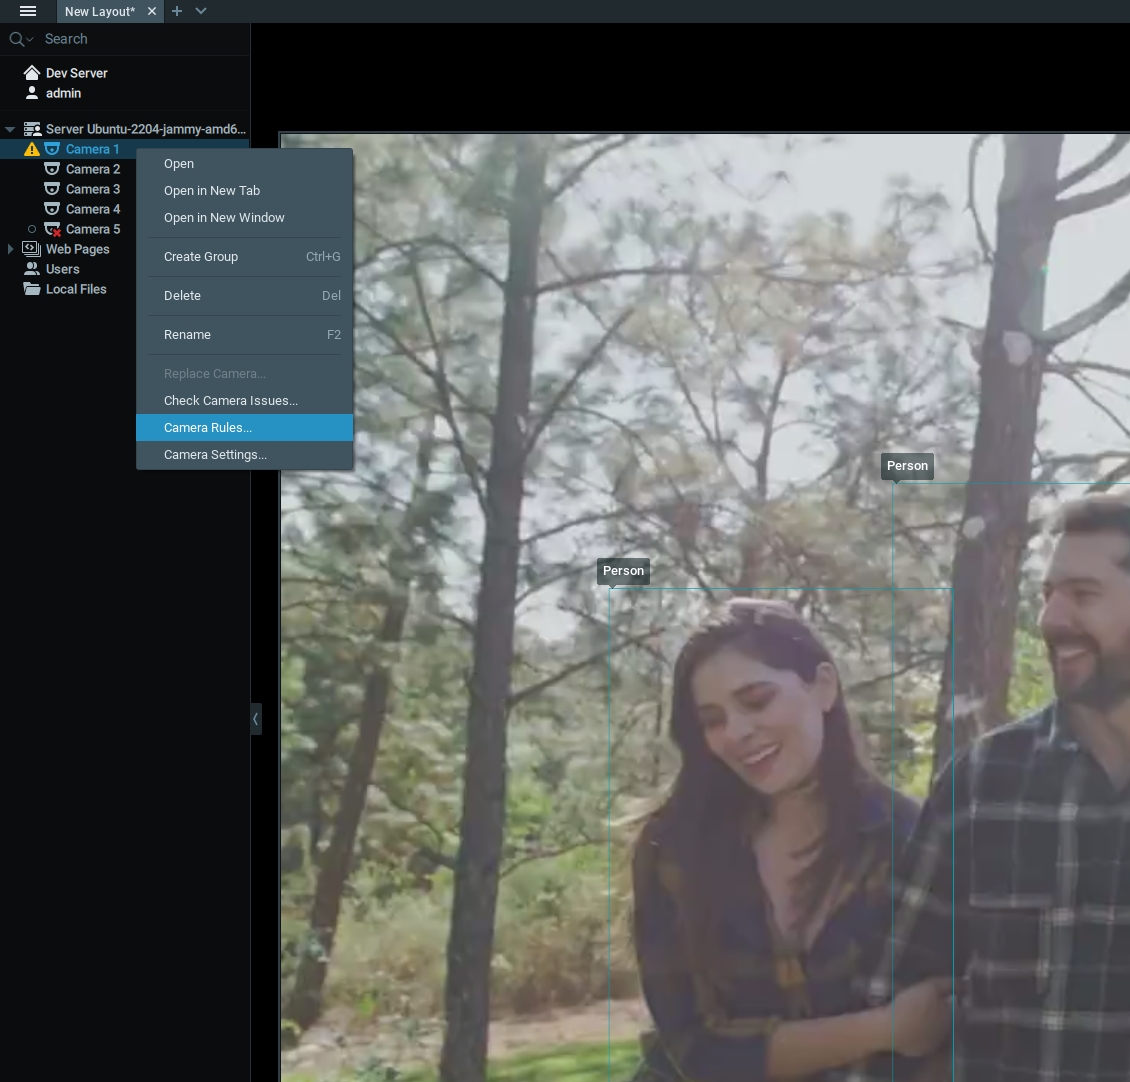
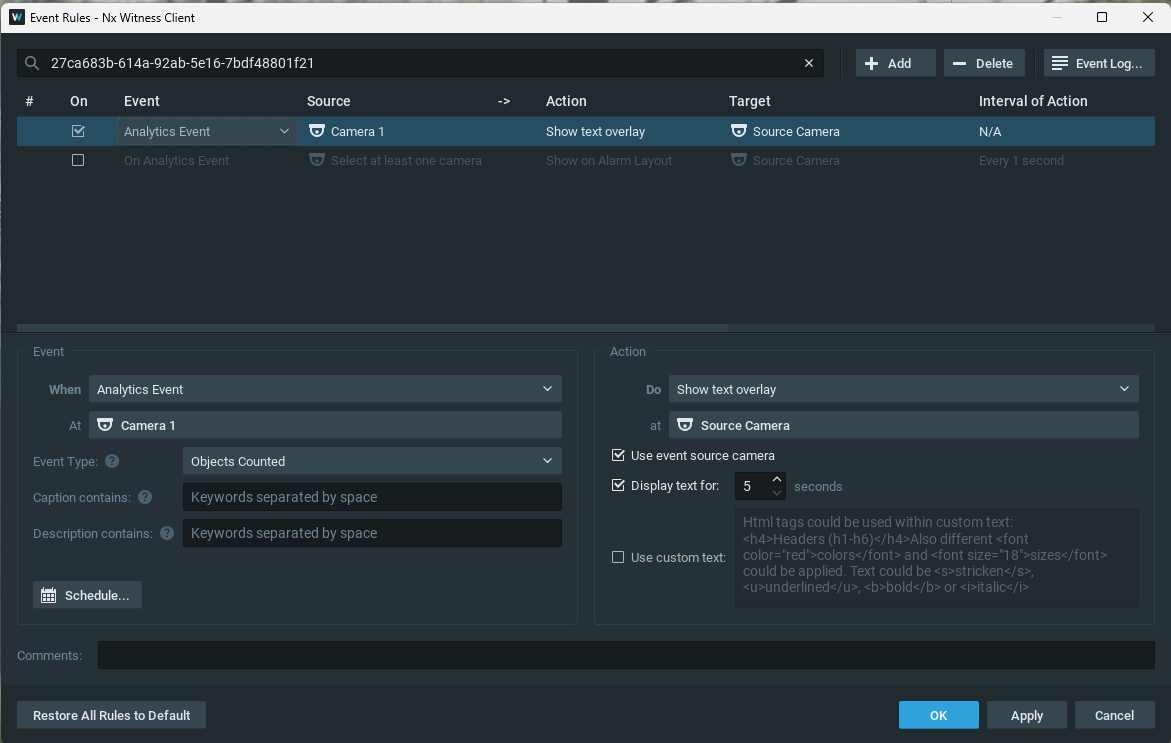
On the Event Rules window, click the Add button to add a new rule.
From here, several options are available. First, on the left side, select Analytics Event from the When context menu. This is the type of event the Nx AI Manager plugin generates.
Select any, or multiple, camera(s) in the At context menu.
Under the Event Type context menu, you will find a number of event types the Nx AI Manager plugin can generate, from alarms to counting objects. In this example, we will select the Objects Counted type.
On the right side, it can be configured what should be done when one of these events is triggered. Here you could set up an email or notification trigger. In this example, we will select the Show text overlay option in the Do context menu at the source camera
If set up correctly, and a model generating counts is selected and running, we should see an overlay on the camera feed showing us the object counts:

Last updated